Family Encyclopedia >> Work

How to Add AutoSave to Office 365 Quick Access Toolbar and Safeguard Your Work

Nothing derails productivity like losing hours of work to a crash, power outage, or accidental close. As seasoned Microsoft Office experts, we've seen it all—and Office 365's AutoSave feature is a game-changer to prevent it.

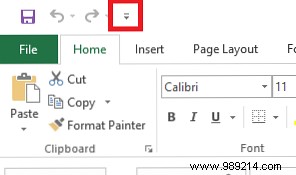
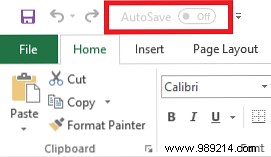
If you've poured time into a document, the last thing you need is starting over. AutoSave automatically backs up your files to OneDrive, and you can toggle it effortlessly from the Quick Access Toolbar.

Add AutoSave to the Quick Access Toolbar

It's straightforward—follow these five steps in Word, Excel, or PowerPoint:

  1. Start Microsoft Word, Excel, or PowerPoint.
  2. Locate the small down arrow in the upper left corner of the screen.
    How to Add AutoSave to Office 365 Quick Access Toolbar and Safeguard Your Work
  3. Click the arrow to expand Quick Access Toolbar options.
  4. Click AutoSave.
    How to Add AutoSave to Office 365 Quick Access Toolbar and Safeguard Your Work
  5. Slide the toggle to the On position.
    How to Add AutoSave to Office 365 Quick Access Toolbar and Safeguard Your Work

Keep these key requirements in mind for AutoSave to work reliably:

  • It requires saving to OneDrive—local files aren't supported.
  • Available only to Office 365 subscribers.
  • Works with modern formats like DOCX, XLSX, and PPTX—not legacy DOC, XLS, or PPT.

Will AutoSave become your go-to feature, or do the limitations hold you back? Share your thoughts in the comments below.