Family Encyclopedia >> Work

How to Create Professional Slideshows in Adobe Bridge

Adobe Bridge excels at organizing vast photo libraries and delivering polished slideshow presentations. Leverage its robust slideshow tools to efficiently review and showcase your images to clients or teams.

This feature is an essential aid for quick previews and professional presentations—use it regularly to impress.

How to Present a Slideshow Using Adobe Bridge

How to Create Professional Slideshows in Adobe Bridge

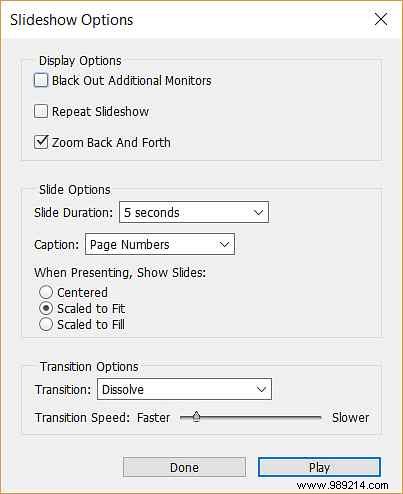
Adobe Bridge offers straightforward slideshow functionality with customizable options tailored for your audience. Launch Adobe Bridge, then navigate to View > Slideshow Options to fine-tune your setup.

  • Black Out Additional Monitors: Ideal for projector setups, this disables your laptop screen and other displays.
  • Repeat Slideshow: Loops the presentation continuously.
  • Zoom Back and Forth: Default style with alternating zoom in/out effects per image.
  • Slide Length: Set timing intervals; choose Manual for full control over pacing.
  • Subtitle: Display image metadata via Full in the dropdown, or opt for sequential elements like page numbers.
  • When Presenting, Show Slides: Select Center for precise framing or Fill options based on your images' dimensions.
  • Transition Options: Start with Dissolve for subtlety, or try Random for varied effects. Adjust speed with the slider.

Click Play to start, or select Done to save settings. Later, launch via View > Presentation. Pause with the Spacebar and exit with Esc.

Adobe Bridge hides powerful tools like batch renaming. How to Batch Rename Your Photos Using Adobe Bridge Don't overlook its file processing prowess—rename images in bulk efficiently. Read more.