Excel Custom Views is a powerful yet underutilized feature that lets experienced users save and switch between customized worksheet displays effortlessly. Drawing from years of optimizing complex spreadsheets, I've found it indispensable for boosting efficiency.
We'll explore four practical ways to leverage Custom Views, starting with how to create them.
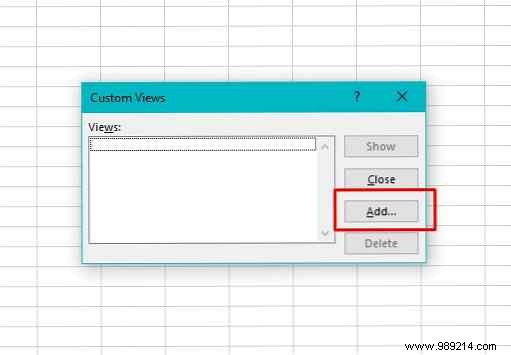
Open your Excel workbook and navigate to the View tab. Click Custom Views to open the dialog.

In the dialog, select Add, enter a descriptive name—perhaps incorporating the workbook name for easy reference—and adjust checkboxes for print settings, hidden rows/columns, or filters as needed.
This process captures your exact layout, making it reusable across projects. For repeated use, save the workbook as a template.
Custom Views gives you a professional edge by simplifying repetitive tasks your colleagues might still do manually.
Excel offers endless customization options for row heights, column widths, and fonts to suit your data—whether entering long text or crisp numbers.
A Custom View locks in these preferences, skipping tedious adjustments every time. Create one template view for similar sheets, then just input data. Ideal for batch processing reports or trackers.
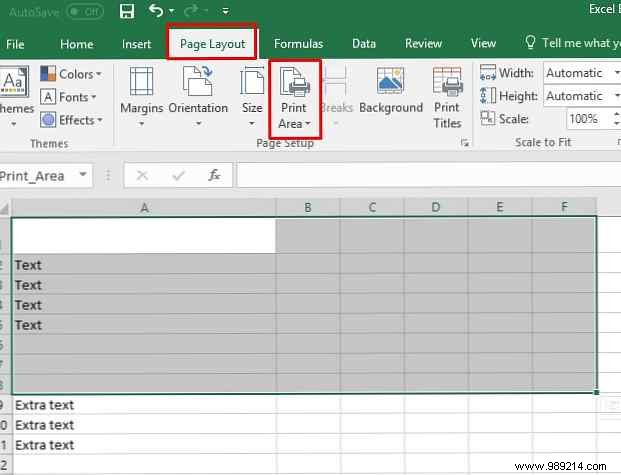
For large datasets, define a print area to protect sensitive info: Select cells, go to Page Layout > Print Area > Set Print Area.
Create a Custom View, ensuring Print settings is checked.
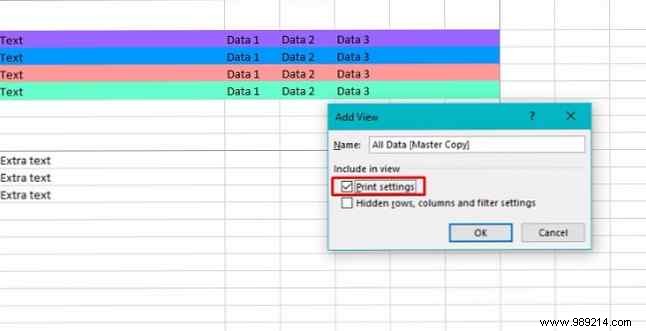
Print previews confirm only your selected area outputs—perfect for client reports while keeping raw data hidden.

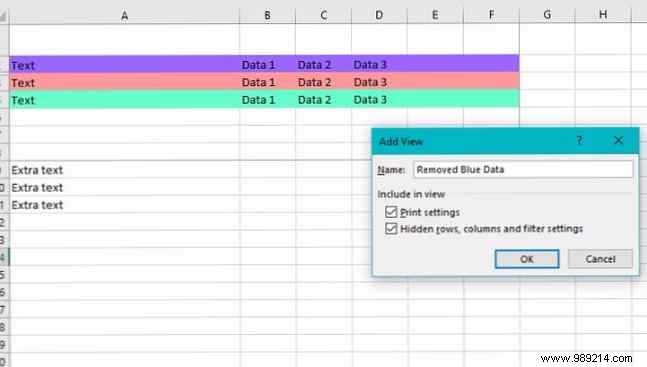
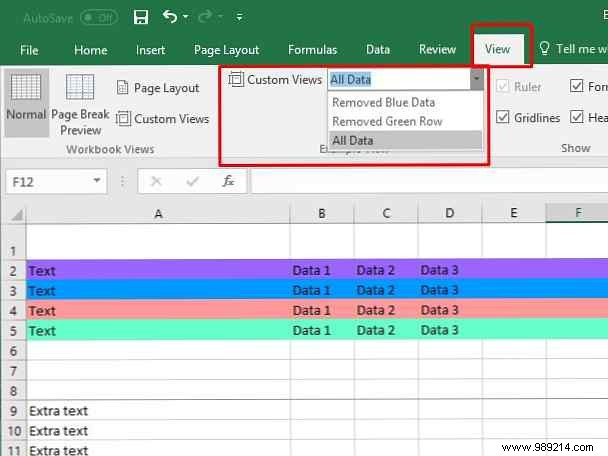
Save a full-view Custom View (e.g., "All Information"), then hide rows/columns with Ctrl + 9 (rows) or Ctrl + 0 (columns). Save tailored views per audience, checking Hidden rows, columns, and filter settings.
Switch views instantly via Custom Views > Show.
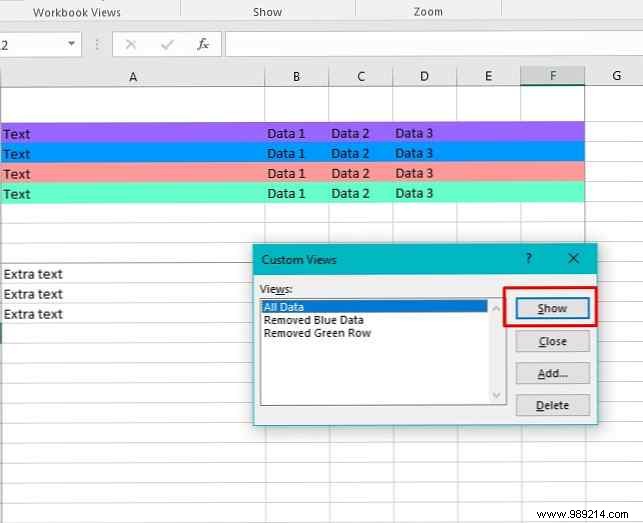
This keeps data centralized and confidential—great for departmental reports, training sheets, or sensitive info.
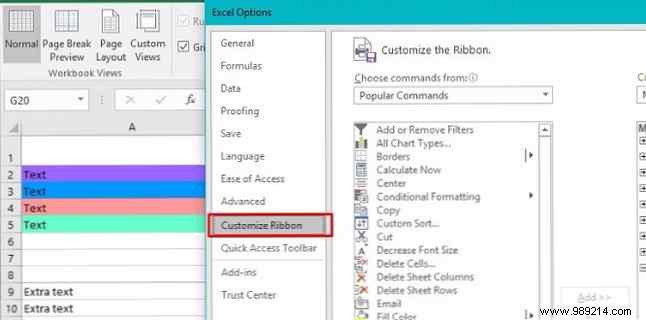
Add Custom Views to the ribbon for one-click access: File > Options > Customize Ribbon.
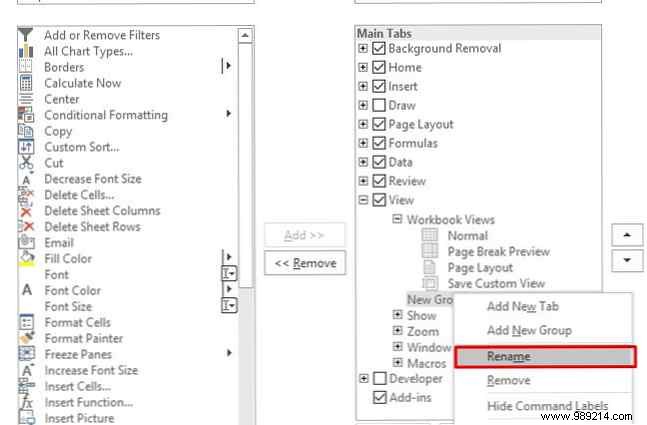
Under View tab, add a new group in Workbook Views, rename it (e.g., "Custom Views"), then from Commands Not in the Ribbon, add Custom Views.

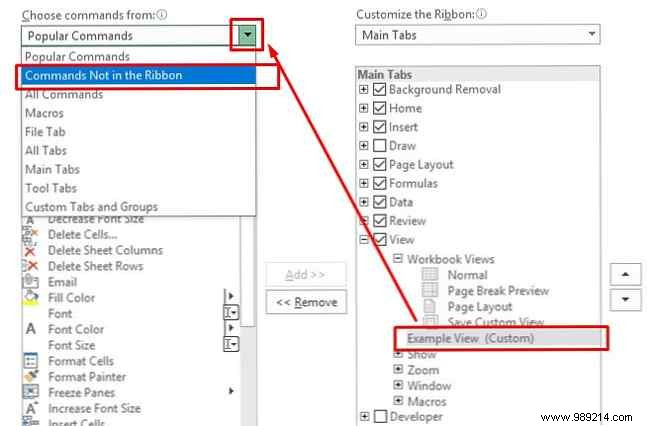
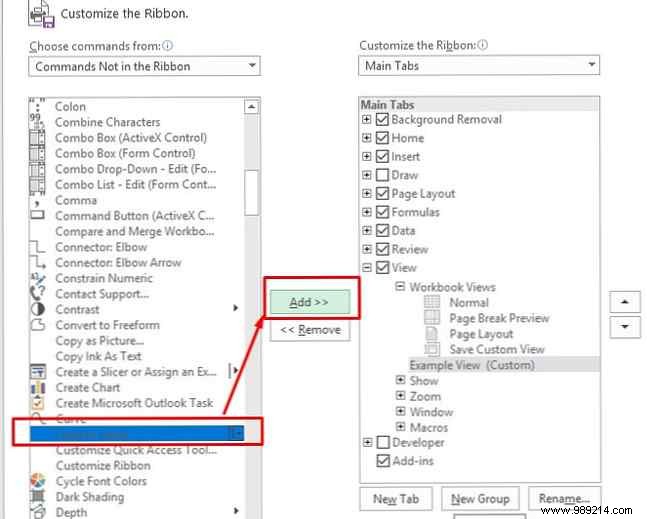
Now dropdown access saves precious seconds on monthly tasks.
These techniques transform Custom Views from hidden gem to workflow powerhouse. Test them on your next project to see the impact.
How do you use Excel at work? Share how Custom Views could simplify your tasks.