Excel is perfect for checklists—no need for another app if you're already deep into spreadsheets. Skip the daily to-do tools and build one right inside your workbook for seamless task tracking.
Even for one-off projects, checklists keep everything organized within your data. Here's how to craft a professional checklist with clickable checkboxes that track completion and signal when you're done.
We'll guide you through creating checkboxes, linking them to TRUE/FALSE values, and adding progress indicators. Your checklist will show total items, checked items, and a "Ready to Go?" status that turns green when complete. Follow these steps:
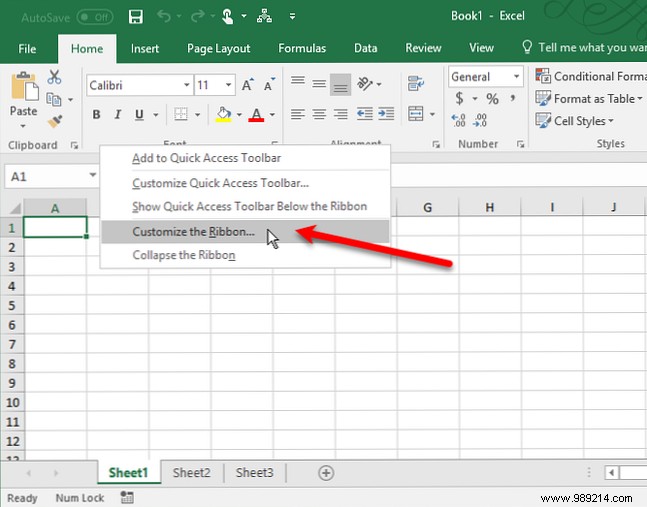
To access checkboxes, activate the Developer tab. Right-click the ribbon and select Customize the Ribbon.
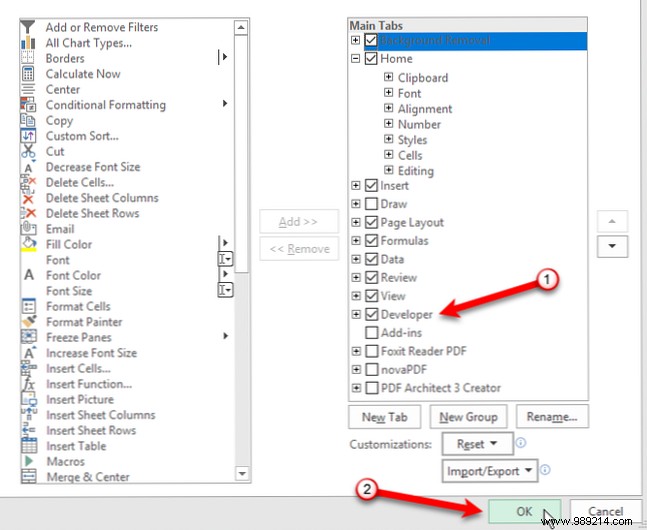
In the Excel Options dialog under Main Tabs, check Developer and click OK.
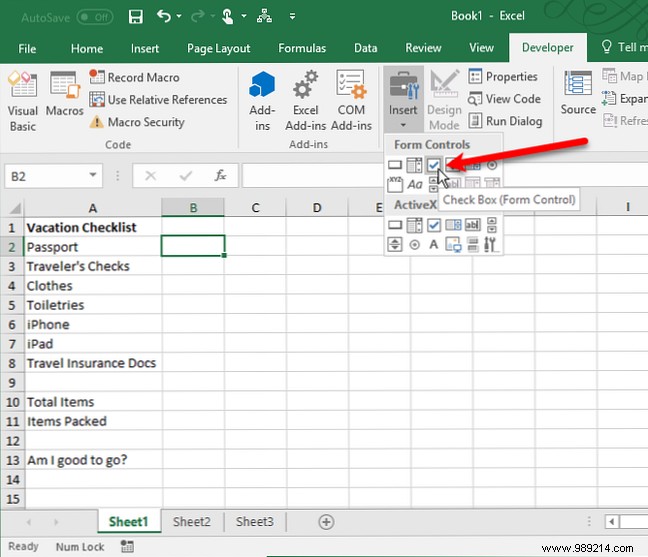
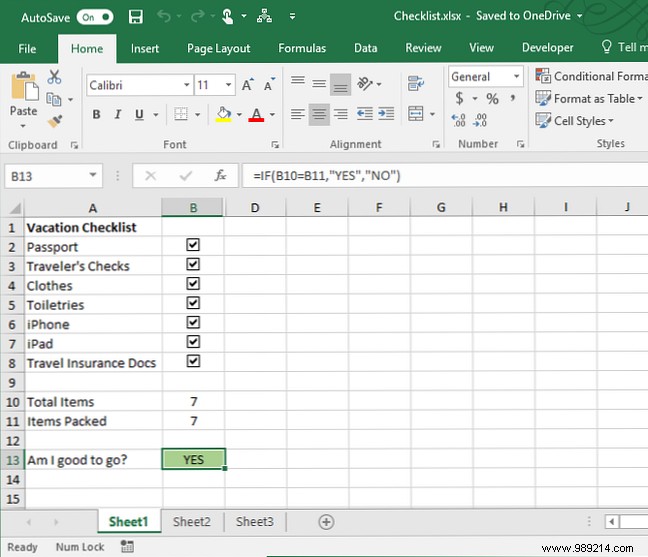
List your tasks in one column per row. Add summary cells: one for Total Items, one for Checked Items, and Ready to Go? (red "NO" until all are checked, then green "YES").
Go to the Developer tab, click Insert in the Controls group, and select Checkbox (Form Control).
Click a cell to place the checkbox, then delete the default text next to it.
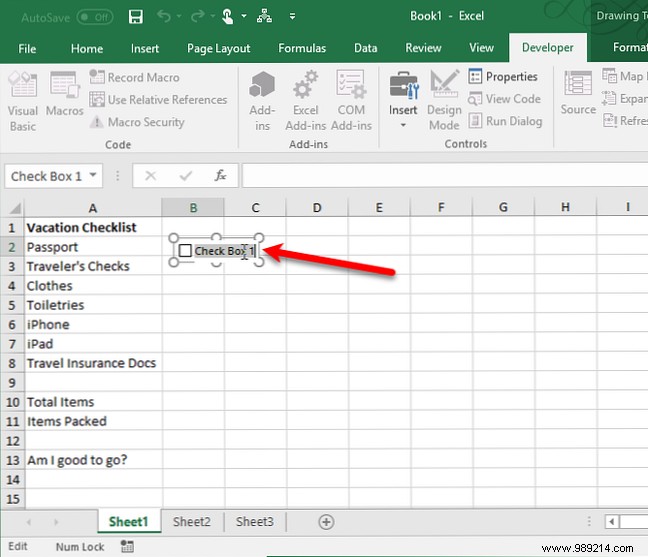
Working with checkboxes in cells can be tricky—selecting often toggles them accidentally. To resize: right-click the cell, left-click the checkbox to show resize handles, then drag to fit and center it.
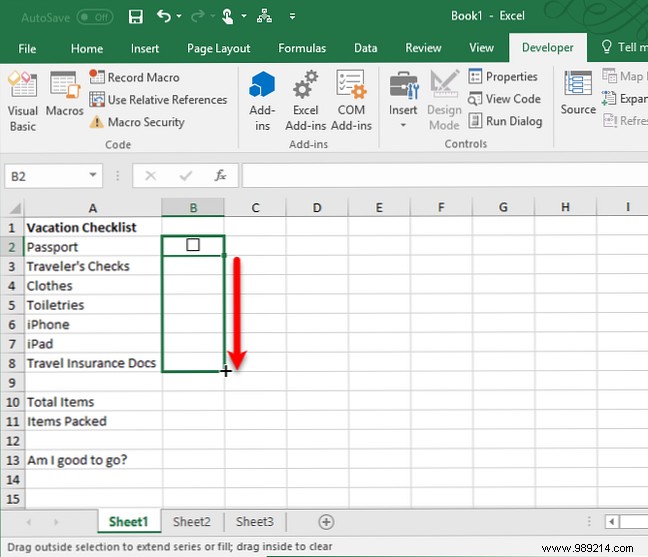
To copy: Select an adjacent empty cell, arrow-key into the checkbox cell. Hover over the bottom-right corner until you see a plus sign (not a hand, which toggles it). Drag down to copy to other rows.
Enhance your checklist with TRUE/FALSE tracking, counts, and color-coded status for project validation.
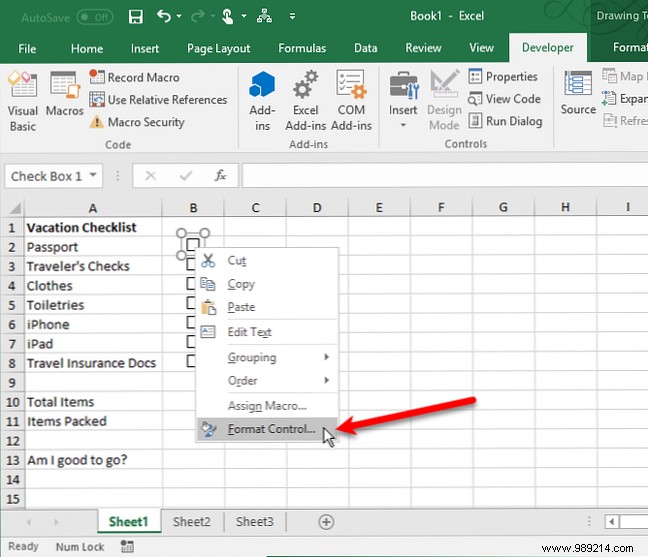
Right-click the first checkbox and choose Format Control.
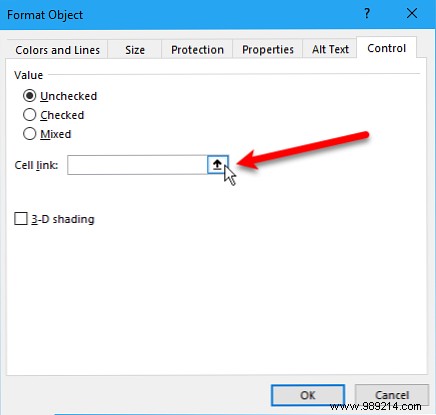
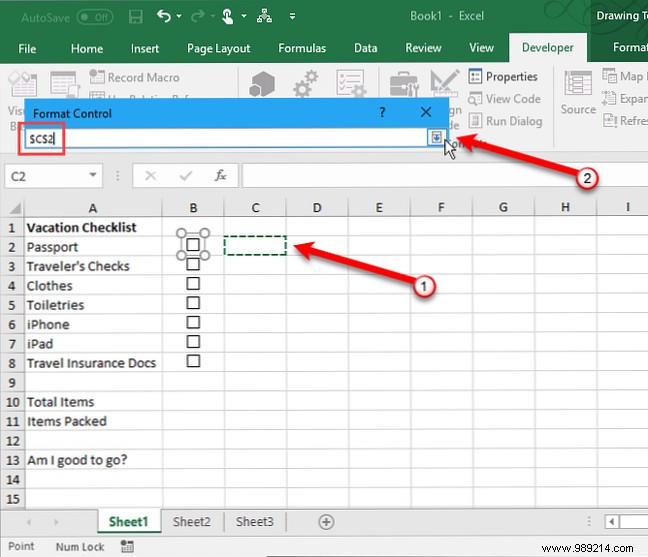
On the Control tab, click the cell selector next to Cell Link and pick the cell to its right.
Repeat for each checkbox. This column will show TRUE (checked) or FALSE.
Enter your total checkbox count next to Total Items.
For Checked Items, use:
=COUNTIF(C2:C8, TRUE)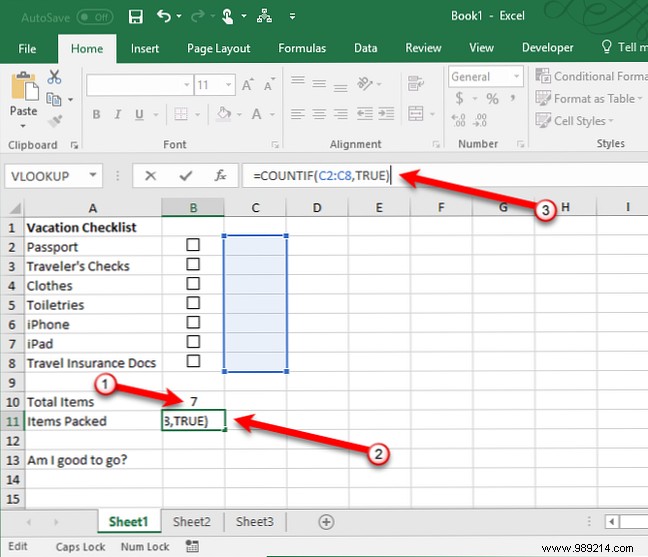
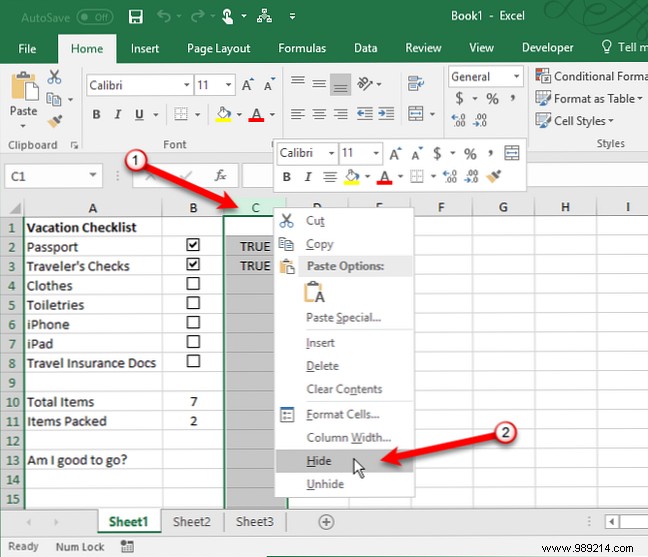
Right-click the column header, select Hide. A double line marks it.
Next to Ready to Go?, enter:
=IF(B10=B11, "YES", "NO")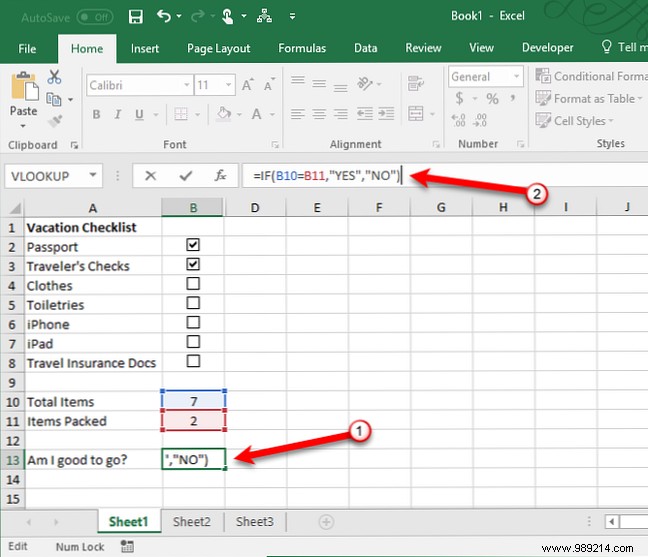
Select the status cell. Go to Home > Conditional Formatting > New Rule > Use a formula.
First rule (red when incomplete):
=$B$10<>$B$11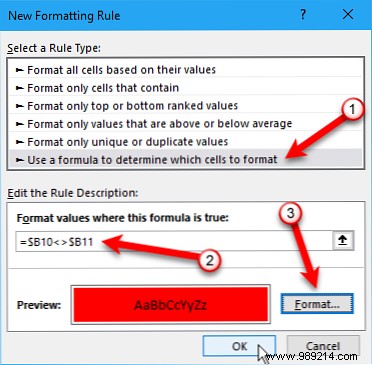
Second rule (green when complete):
=$B$10=$B$11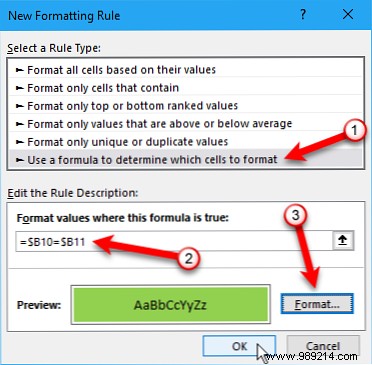
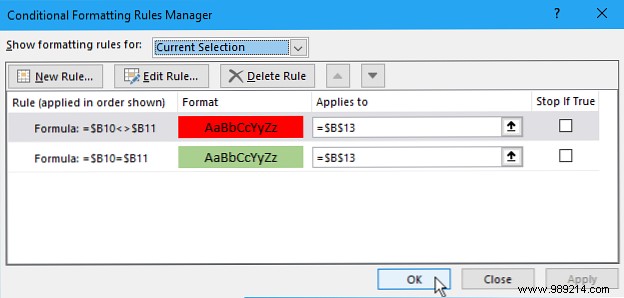
Now it auto-updates: green "YES" when done, red "NO" otherwise.
Excel checklists shine for meetings, data entry, or dashboards. Pair with custom lists, dropdowns, or custom views for pro workflows.
Do you use Excel checklists? Share your tips in the comments!