Ready to supercharge your Excel workflow? Creating a custom ribbon toolbar for your most-used VBA macros provides one-click access, saving time and boosting efficiency.
As an experienced Excel power user and VBA developer, I've streamlined countless spreadsheets this way. Follow this proven guide to add your own tab to the ribbon and populate it with practical macros.
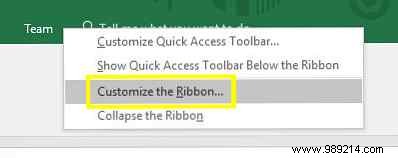
Right-click the ribbon and select Customize the Ribbon.
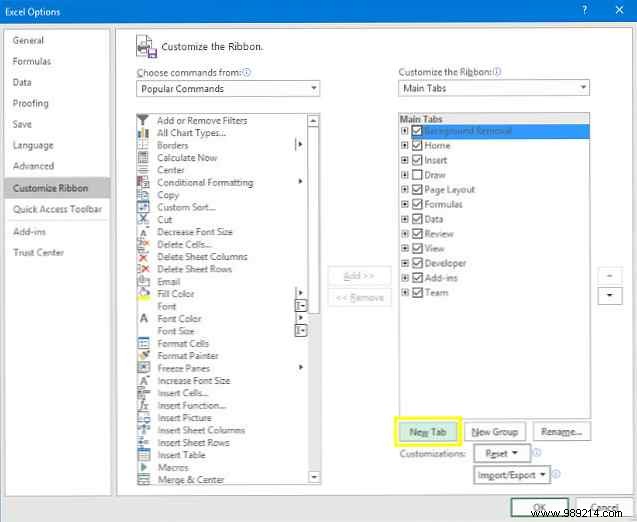
In the dialog, click New Tab.
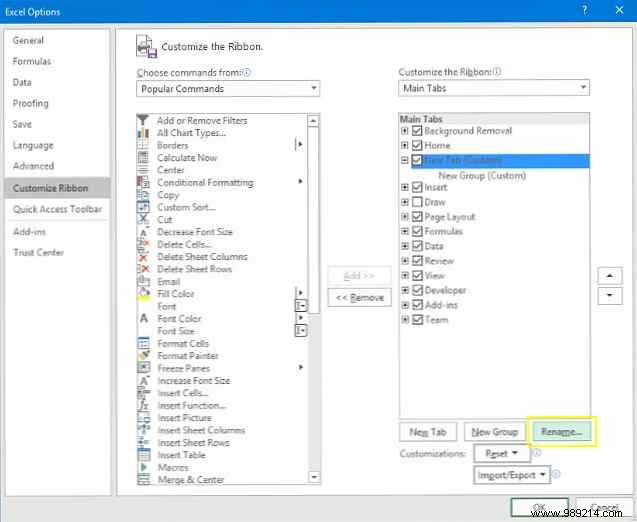
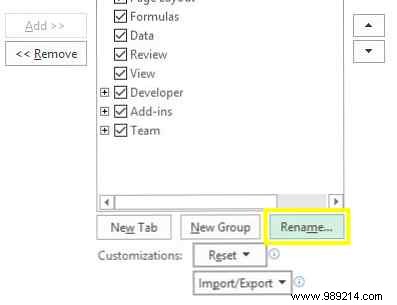
Select the new tab, click Rename, and name it "Macros" (or your preference). Click OK.
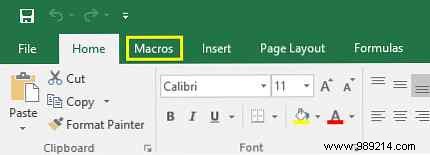
Your new Macros tab appears—now let's add functionality with macros.
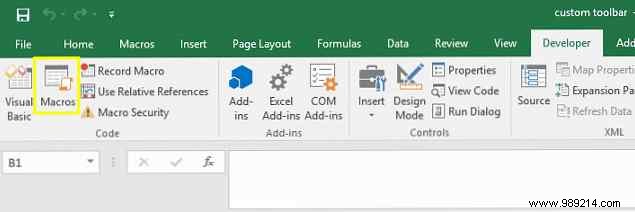
Enable the Developer tab if needed (File > Options > Customize Ribbon). Go to Developer > Macros.
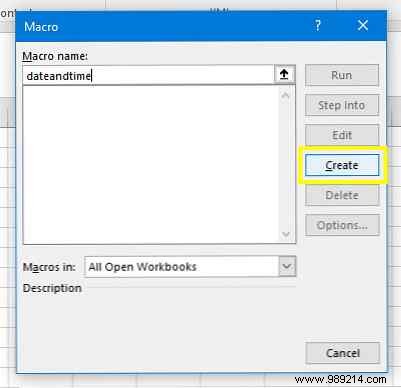
Name it "dateandtime" and click Create.
In the VBA editor, replace the code with:
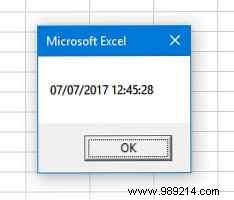
Sub dateandtime()
MsgBox Now
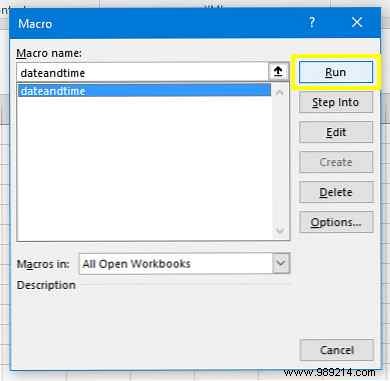
End SubSave, return to Excel, select the macro, and click Run. It displays the current date and time.
Create a new macro named "customheaders".
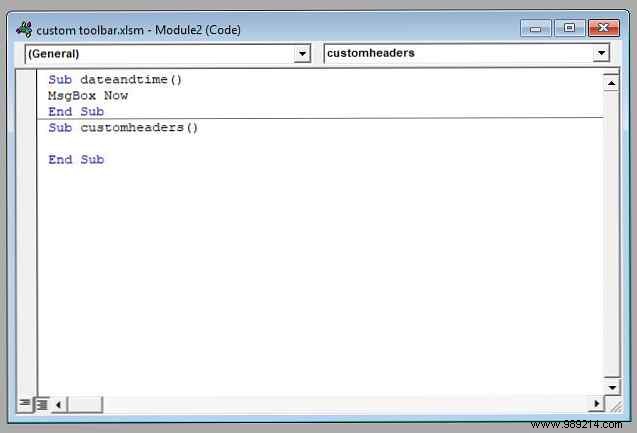
Add this code:
Sub customheaders()
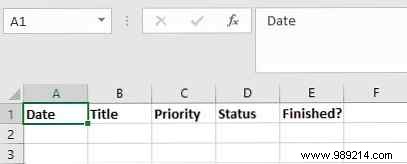
Range("A1").Value = "Date"
Range("B1").Value = "Title"
Range("C1").Value = "Priority"
Range("D1").Value = "Status"
Range("E1").Value = "Completed?"
Range("A1:E1").Font.Bold = True
End SubRun it to instantly add bold headers—perfect for weekly reports.
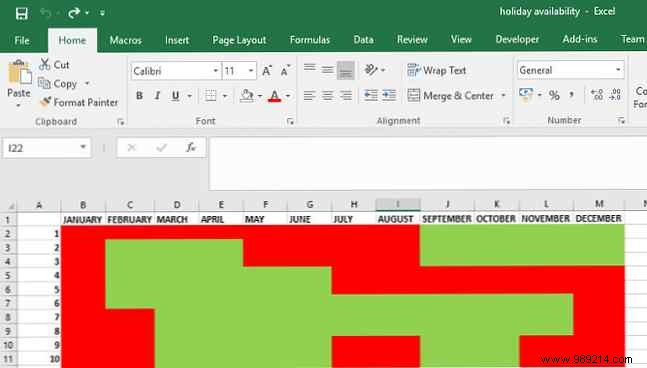
Create a new workbook, save it (e.g., on Desktop as "vacation-availability.xlsx"). Create macro "linkspreadsheet".
Update the path in this code:
Sub linkspreadsheet()
    Workbooks.Open "C:\Users\[YourUsername]\Desktop\[YourFile].xlsx"
End Sub
To get the exact path: Right-click the file in File Explorer > Properties.
Test it—the workbook opens instantly.
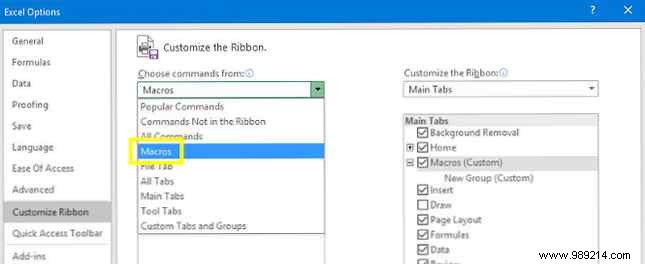
Right-click the ribbon > Customize the Ribbon. Set Choose commands from to Macros.
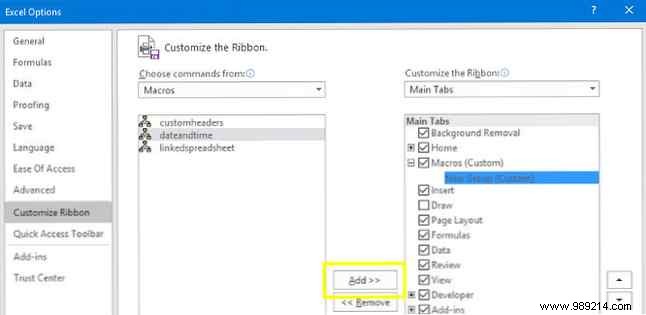
Add your macros to a New Group under the Macros tab. Rename and assign icons for polish.
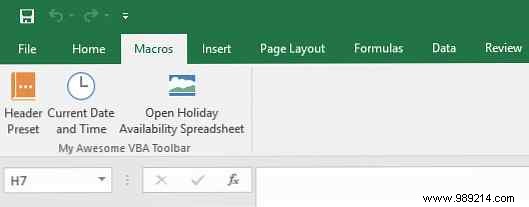
Your toolbar is ready!
Excel shines when tailored to you. Start simple with VBA basics, then expand. These tools have transformed my daily tasks—saving hours weekly.
Share your macro tips or toolbar ideas in the comments!