As a Microsoft Word power user with over a decade of experience training professionals, I've seen how mastering lists transforms cluttered documents into organized masterpieces. Checklists are legendary—rumored to be 'written in blood' by pilots emphasizing their life-saving power. From grocery runs to NASA launches, lists tame information overload and banish forgetfulness.
Yet they're often underutilized. Here are 12 battle-tested tips to create, customize, and manage bulleted and numbered lists in Word for peak productivity and professional polish.
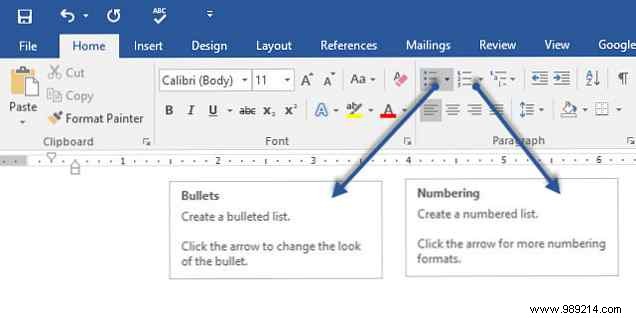
Most list tools live in the Paragraph group on the Home tab. Select your text, then click the dropdown arrows next to the Bullets or Numbering icons to browse libraries. Hover to preview formats.
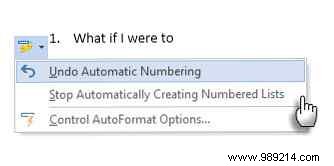
Word auto-detects lists: Start a paragraph with an asterisk (*) for bullets or '1.' for numbering. To stop it, click the AutoCorrect options button that pops up.
To switch styles quickly, use the dropdown next to Bullets or Numbering.
Pro Tip: To tweak just one or a few items, place your cursor at the line's start before opening the dialog—changes apply only there.
Mouse-averse pros love shortcuts. Try Ctrl + Shift + L for default bullets (toggle off with the same combo).
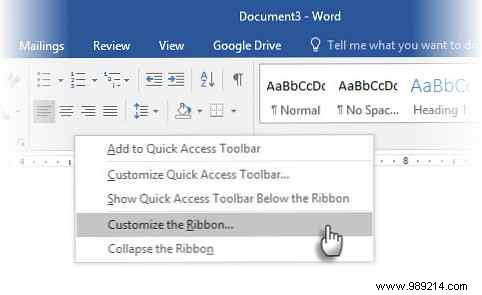
For numbered lists, customize via File > Options > Customize Ribbon, then Customize keyboard shortcuts.
Select All Commands, find FormatNumberDefault, assign a combo like Alt + N, and hit Assign.
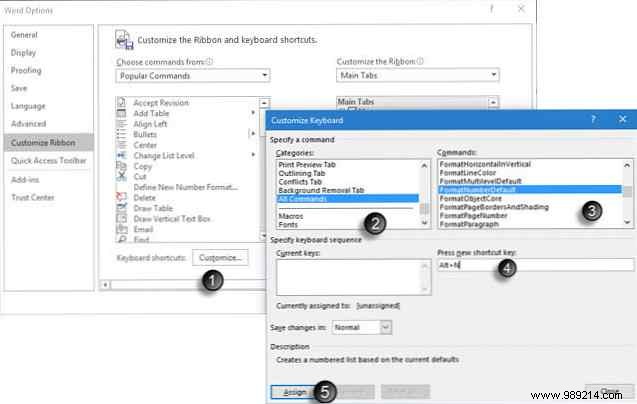
Test it: Alt + N toggles numbering. Pro Tip: Use it mid-list to skip numbering for a paragraph.
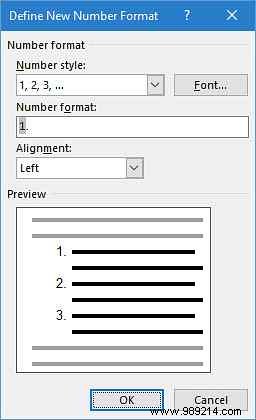
Word offers four formats, but craft your own: Home > Paragraph > Numbering dropdown > Define New Number Format.
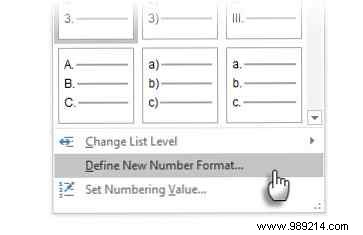
Tweak font via Font. Add prefixes/suffixes (e.g., brackets) in Number format. Adjust alignment under Alignment.
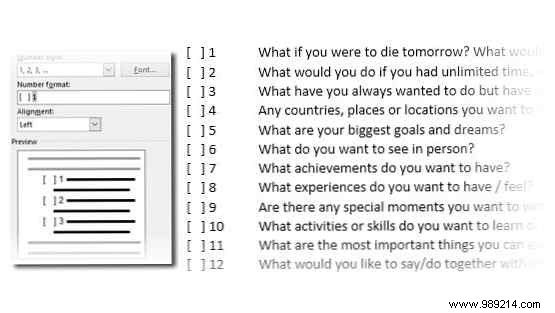
Pro Tip: Prefix with text like 'Attendee 1' for dynamic lists.
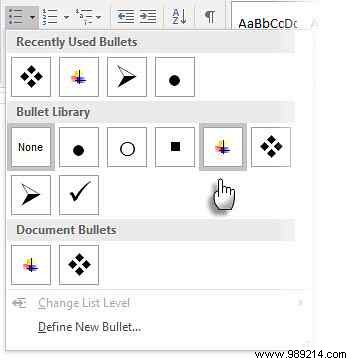
Elevate bullets beyond dots: Select text, Home > Paragraph > Bullets dropdown > Define New Bullet.

Choose Symbol, pick from Wingdings for variety. Customize via Font.
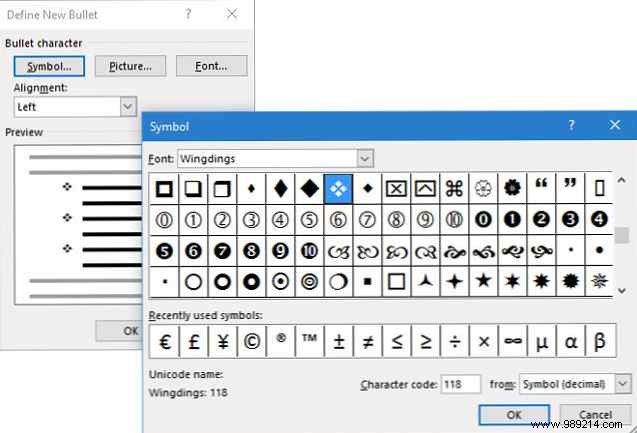
Pro Tip: Wingdings open/3D boxes make perfect checkboxes.
For custom flair, select list > Home > Paragraph > Bullets > Define New Bullet > Picture.

Insert from file, Bing, or OneDrive. Preview and insert.
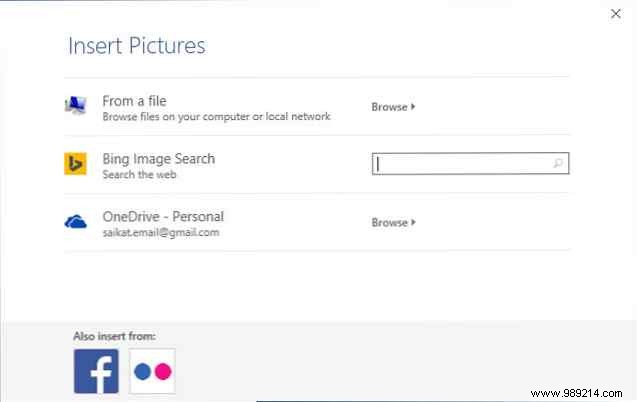
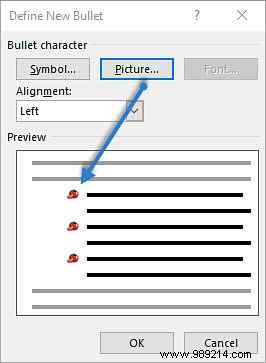
Pro Tip: Match theme graphics (e.g., banana for fruits); opt for transparent PNGs.
Left-aligned numbers skew with double digits. Fix via: Select list > Numbering dropdown > Define New Number Format > Right Alignment.

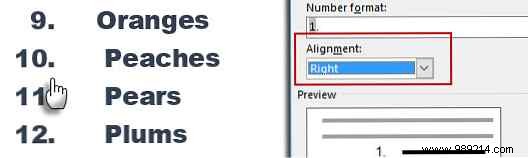
Pro Tip: Right-align excels for parentheses too.
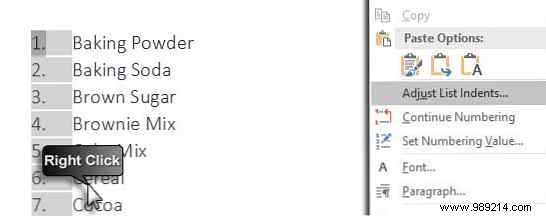
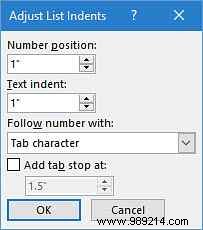
Double-click a number to select all, right-click > Adjust List Indents. Tweak Number position and Text indent.
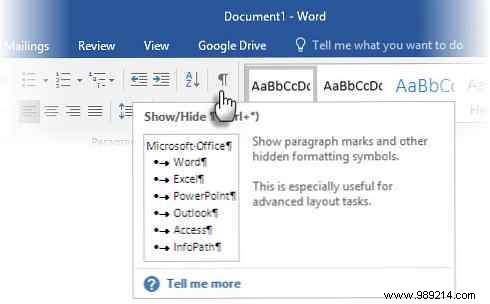
Show formatting marks (Home > Show/Hide ¶), select only the ¶ mark at the list item's end, apply formatting—it affects just that bullet/number.
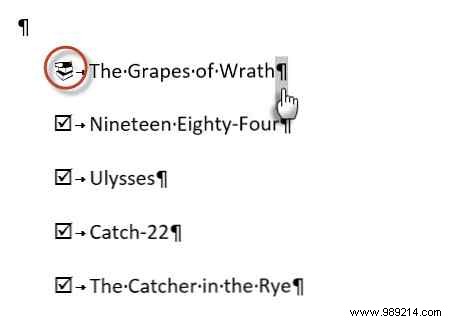
New items inherit the style.
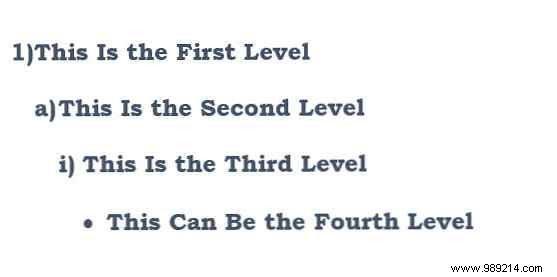
Use Multilevel List button on Home tab. Tab to indent sublevels; Shift+Tab to promote.
Pro Tip: Pre-write, select, apply multilevel; use Increase/Decrease Indent buttons.
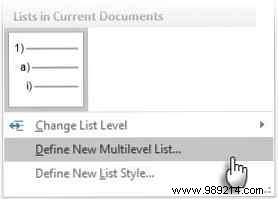
Multilevel List dropdown > Define New Multilevel List > More.
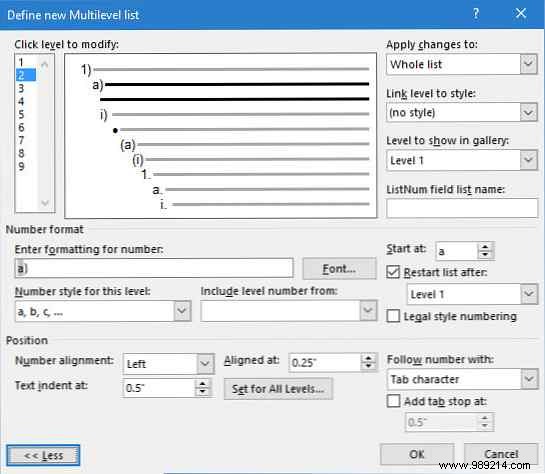
Customize per level (e.g., '(1)', start number). Name it, link to styles, choose scope.
Select list > Insert > Table > Convert Text to Table. Word auto-detects separators.
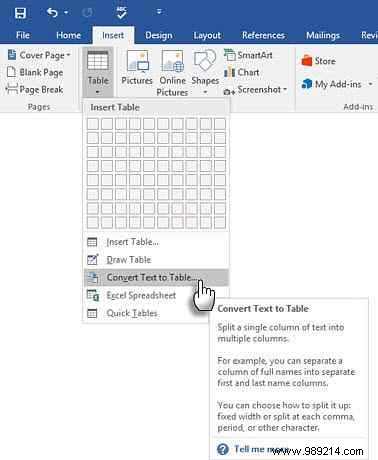

Pro Tip: Remove bullets first for cleaner results; add numbering later.
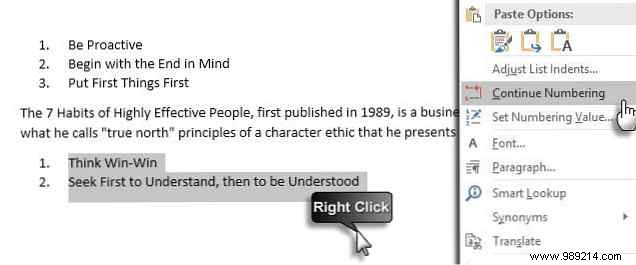
Format post-paragraph list (it restarts at 1), right-click > Continue Numbering.
Lists break up text walls, saving time in resumes, mail merges, or brainstorming. They're a document's backbone.
Share your top list tips or frustrations in the comments—let's optimize together!