Family Encyclopedia >> Work

Master Printing Microsoft Office Documents: Pro Tips for Perfect Results

Printing Microsoft Office documents isn't always straightforward. Margins, orientation, duplex printing, and more can make or break your output. As someone who's optimized countless professional documents, I've learned the key settings to ensure crisp, professional prints every time.

In this guide, I'll walk you through essential printing options in Word and Excel to save paper, ink, and time while achieving flawless results.

How Print Formatting Enhances Your Documents

Skip the quick print button. Instead, preview and tweak settings based on your document type. This prevents wasted resources and delivers polished output.

Master Printing Microsoft Office Documents: Pro Tips for Perfect Results

Before printing, ask:

  • Does it include graphics like charts or tables?
  • Are there awkward single lines on pages (check print preview)?
  • Headers or footers in use?
  • Environmental concerns or page limits?
  • Per-page costs at libraries or print shops?

Simple hacks, like tightening margins, consolidate content and cut pages.

Optimize Charts for Impact

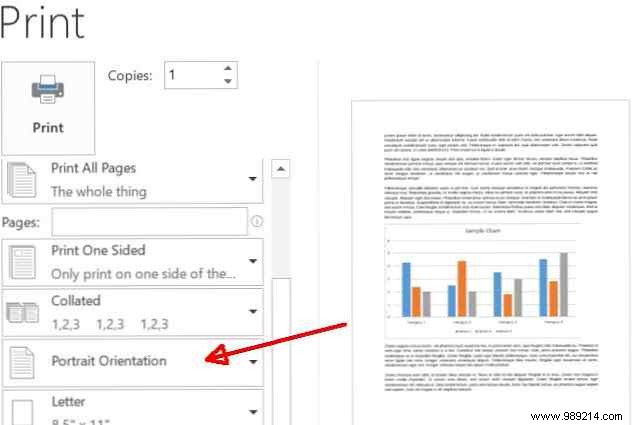
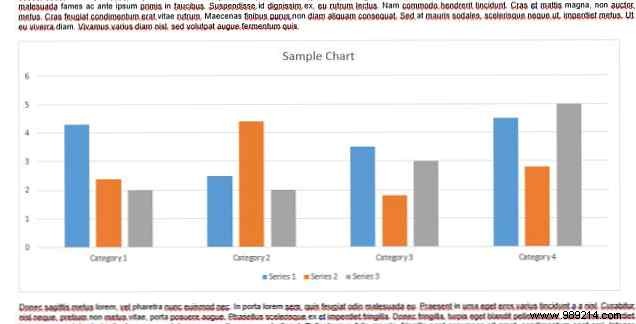
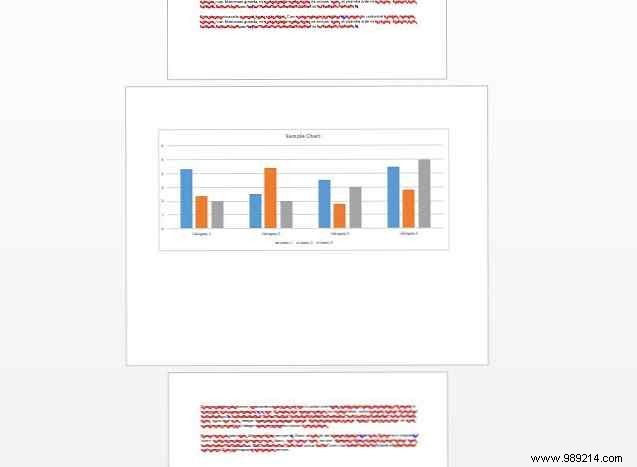
A cramped portrait chart lacks punch. Landscape mode lets it span the full page for maximum effect.

Master Printing Microsoft Office Documents: Pro Tips for Perfect Results

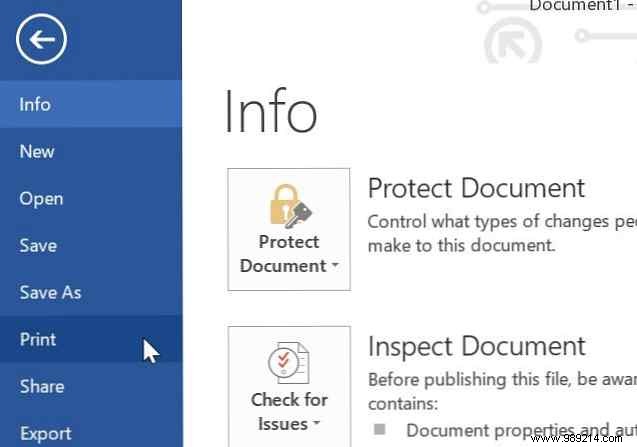
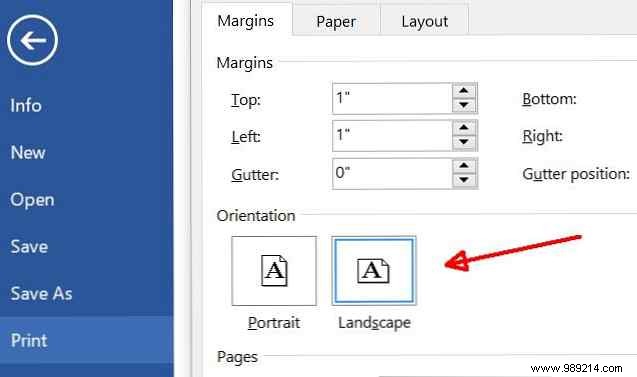
In Word, access Print settings to preview and switch orientations.

Master Printing Microsoft Office Documents: Pro Tips for Perfect Results

Default is Portrait. Switch to Landscape, resize your chart, and preview the difference.

Master Printing Microsoft Office Documents: Pro Tips for Perfect Results

Master Printing Microsoft Office Documents: Pro Tips for Perfect Results

Issue: Text reads poorly in landscape. Solution: Mix orientations by section.

  1. Cursor at portrait section start; set Portrait in Print settings.
  2. Position cursor before chart; go to Margins > Custom Margins.
  3. Select Landscape. Master Printing Microsoft Office Documents: Pro Tips for Perfect Results
  4. Set Apply to: This point forward. Master Printing Microsoft Office Documents: Pro Tips for Perfect ResultsMaster Printing Microsoft Office Documents: Pro Tips for Perfect Results
  5. Repeat for next text section, reverting to portrait. Master Printing Microsoft Office Documents: Pro Tips for Perfect Results

Result: Professional text and graphics.

Perfect Text Formatting

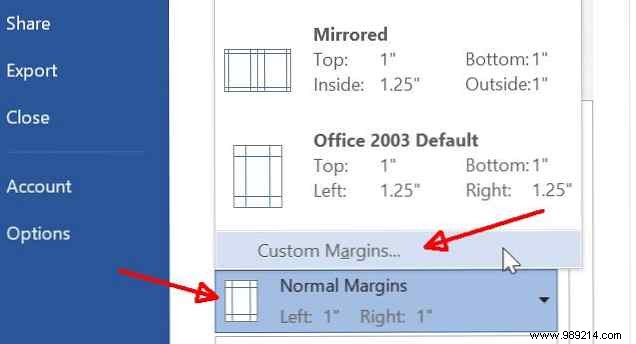
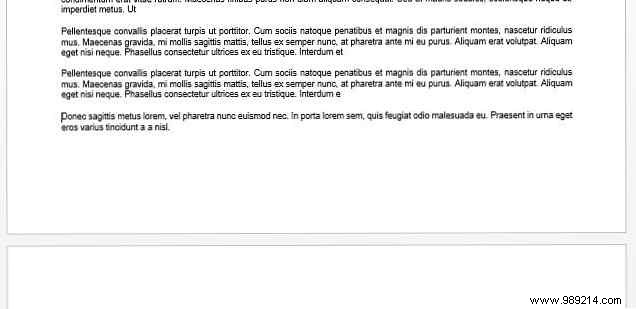
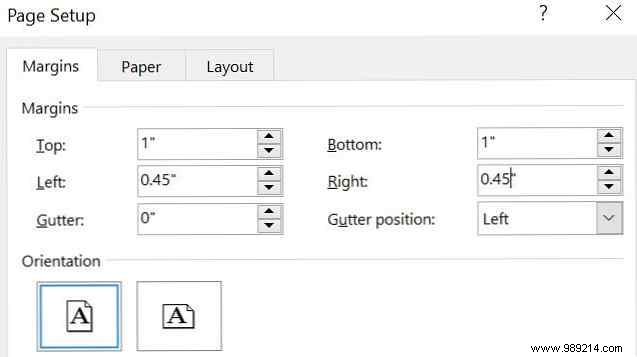
Orphaned lines on the last page? Adjust margins in Print preview.

Master Printing Microsoft Office Documents: Pro Tips for Perfect Results

Master Printing Microsoft Office Documents: Pro Tips for Perfect Results

Adjust Page Margins

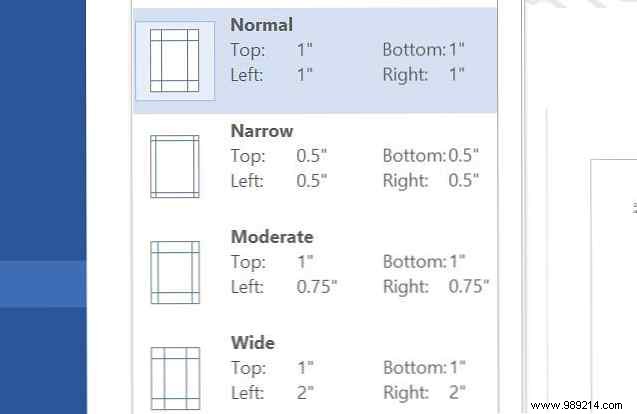
Test presets or custom sizes (e.g., 0.5-inch all sides) to fit content neatly.

Master Printing Microsoft Office Documents: Pro Tips for Perfect Results

Master Printing Microsoft Office Documents: Pro Tips for Perfect Results

It takes minutes but impresses with pro polish.

Print Hidden Text and Formatting

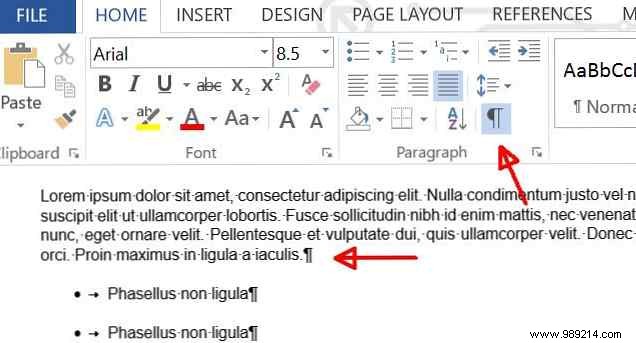
Show paragraph marks via Home > ¶ icon for edits. Print them via File > Print > Settings > Print markup.

Master Printing Microsoft Office Documents: Pro Tips for Perfect Results

Master Printing Microsoft Office Documents: Pro Tips for Perfect Results

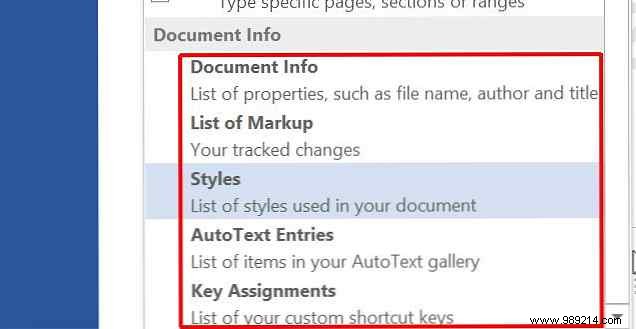
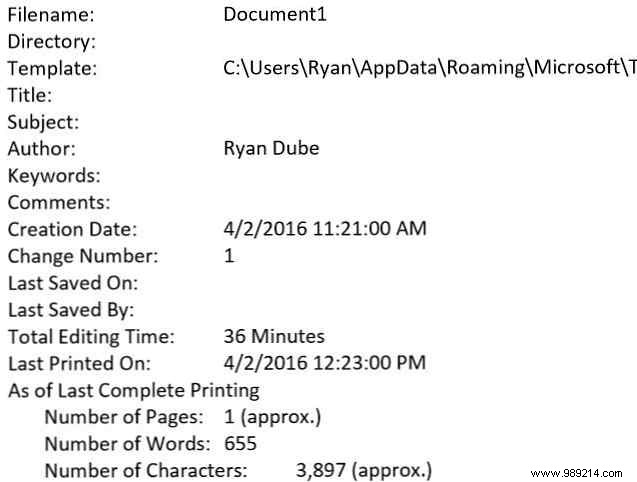
Also print Document Info for file paths, word counts—handy for tracking.

Master Printing Microsoft Office Documents: Pro Tips for Perfect Results

Master Printing Microsoft Office Documents: Pro Tips for Perfect Results

Print Selected Pages

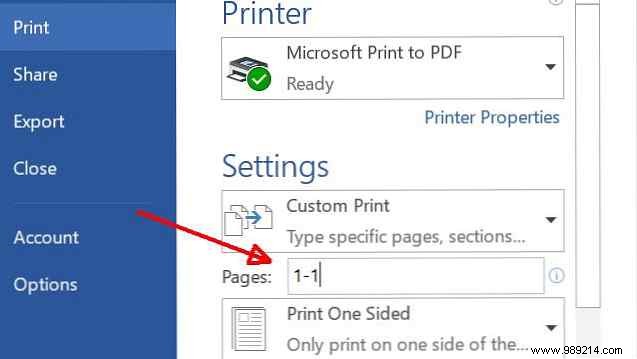
Avoid full docs: Use Pages field like "1", "1-10", "1,20", or "p5s3" for sections. Hover for tips.

Master Printing Microsoft Office Documents: Pro Tips for Perfect Results

Print Smarter, Save More

Thoughtful settings yield pro results and cut waste. What's your top printing tip? Share below!