As a long-time Microsoft Office power user since the ribbon's debut in 2007, I've found that a tailored workspace boosts productivity dramatically. The Office 2016 ribbon in apps like Word, Excel, PowerPoint, Outlook, and OneNote can be customized to show only what you need. Here's how to optimize it effectively.
In Office 2016 applications, ribbon access and basic customization work consistently across Word, Excel, PowerPoint, Outlook, and OneNote, though specific options vary by app.
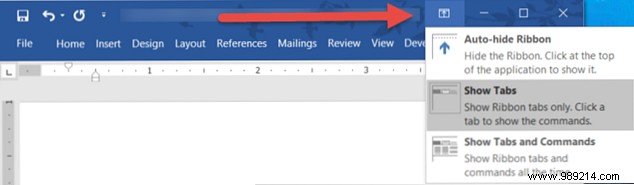
To toggle visibility, click the Ribbon Display Options button in the top-right corner. Choose from three modes:
Start by going to File > Options > Customize Ribbon. The interface shows commands on the left and ribbon contents on the right.
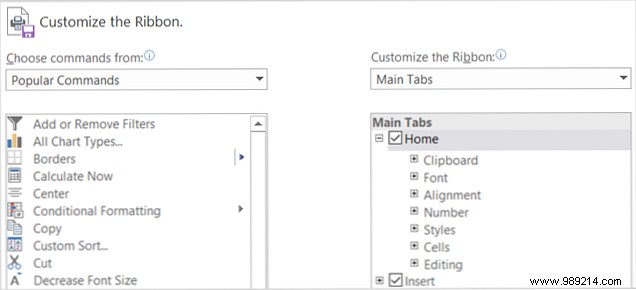
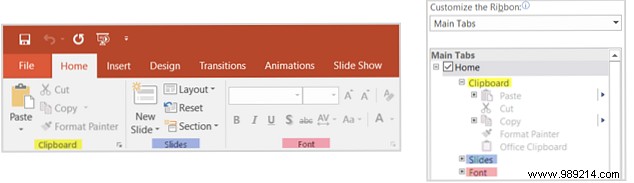
Right-side checkboxes toggle groups or tabs; plus signs expand subgroups. For example, PowerPoint's Home tab includes the Clipboard group.
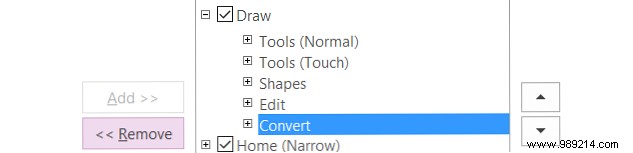
Select command lists from dropdowns on both sides. Uncheck items to remove them—e.g., disable OneNote's Draw tab entirely. For finer control, expand, select sub-items like Convert, and click Remove.
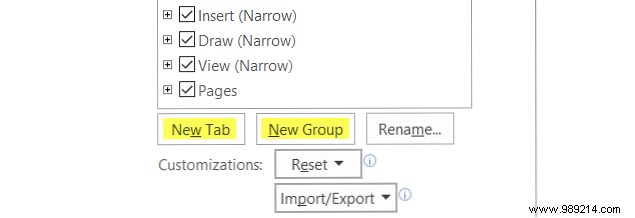
To add, create a new group or tab at the bottom, then select left-side commands and click Add. Rename and choose icons as needed.

With these basics, craft a ribbon suited to your needs—remove unused tabs like Mailings in Word or History in OneNote, or refine others.
Use arrows or right-click in Customize Ribbon to reorder. Prioritize frequently used tabs, like moving Formulas above Home in Excel. Rearrange within tabs too.
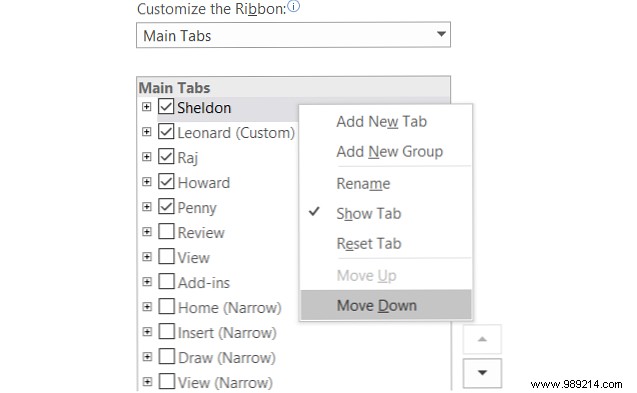
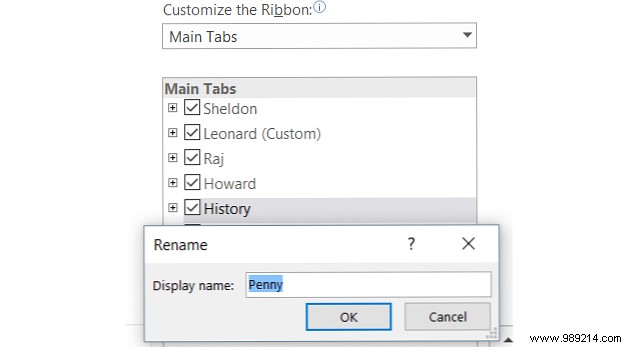
Rename built-in or custom tabs/groups: Select, click Rename, and enter a name—even fun ones like characters from The Big Bang Theory.
Create a New Tab, add groups/commands (even hidden ones), reorder, rename, then disable others for a streamlined setup.

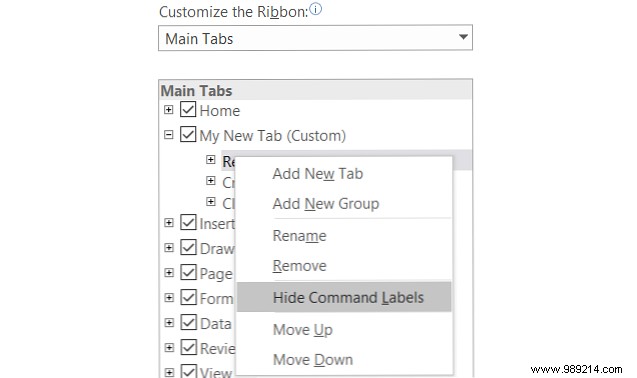
For custom groups, right-click after adding commands and select Hide Command Labels for icon-only views (not available on built-in tabs).
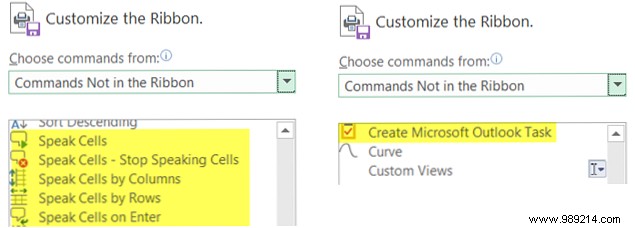
From Choose Commands From, select Commands Not in the Ribbon. Add gems like Speak Cells (Excel), Speak Text (Word), or Scribble drawing.
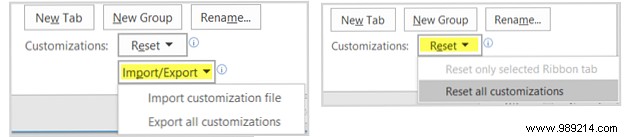
Save via Import/Export > Export All Customizations.
Load with Import/Export > Import Customization File, confirming overwrite.
Click Reset: Target a tab or all.
Invest time now for lasting efficiency. Share your creative ribbon tips in the comments below.