Typing multiple recipients into the To, CC, or BCC fields every time is tedious and error-prone—you risk omitting someone important. Distribution lists (also called contact groups) solve this by letting you email groups with a single entry.
These steps apply exclusively to the desktop versions of Microsoft Outlook 2013 and 2016. If you're using Outlook.com or the web app, this guide won't work—consider those alternatives for browser-based access.
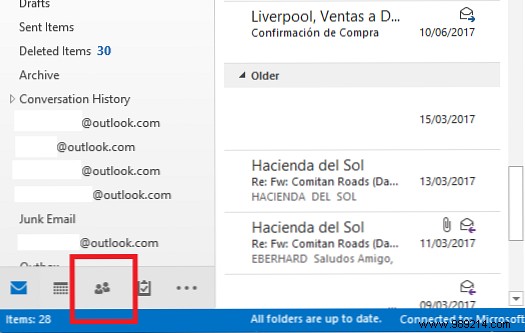
Launch Outlook and click the People icon in the lower-left corner to open your contacts view.
Select a folder for your new group; the Contacts folder is the most intuitive choice, though any subfolder works.
Once selected, go to Home > New Contact Group. This opens the Contact Group window.

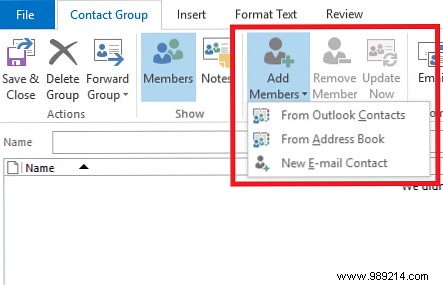
Add members by clicking Add Contacts in the ribbon. Select from your Outlook contacts or address book. For new contacts, create their profile first.
Name your group and click Save & Close.
To send an email, compose a new message and type the group name in the To field—Outlook will auto-resolve it.
Do you rely on distribution lists in Outlook? Share your tips in the comments.