Every email can be a distraction, but Outlook's rules, priority flags, and color categories let you automate your workflow. If you spend hours in Outlook daily, optimizing it can reclaim valuable time for what matters most.
Take productivity further with conditional formatting for your inbox. Messages are automatically sorted, filtered, and highlighted the moment they arrive. This guide is ideal for all Outlook users, especially those with IMAP accounts, which have limitations on color categories compared to POP3. For a refresher, check IMAP vs. POP3: What’s the Difference and Which Should You Use?
Conditional formatting automatically applies colors, fonts, and styles to incoming messages based on specific conditions. When a message matches your criteria, it gets visually distinct formatting, helping it stand out and streamlining your workflow.
Here are quick examples to transform your inbox.
Creating multiple rules is straightforward and transformative. For even more efficiency, master these 25+ Outlook Keyboard Shortcuts.
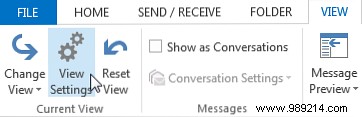
Go to the View tab, then under Current View, select View Settings. In the Advanced View Settings dialog, click Conditional Formatting to see default rules.
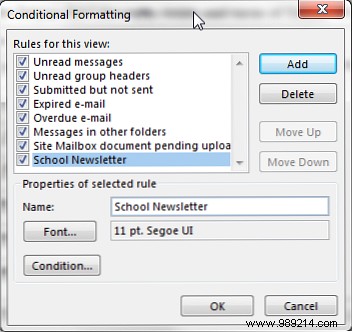
Click Add and name your rule, like “School Newsletter” to ensure you never miss one. Select a Font from Windows options. Stick to readable choices to avoid distractions—learn more about OTF vs. TTF Fonts or Downloading Free Fonts in Windows.
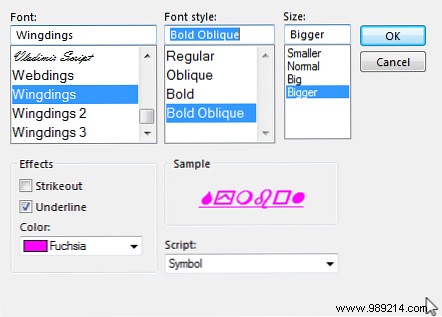
Choose a color, set font size to Large, and click OK.
Now, define the Condition. For a single sender, enter the email in the From field. For multiples, click From to access your address book. Click OK—rules apply to new emails immediately.
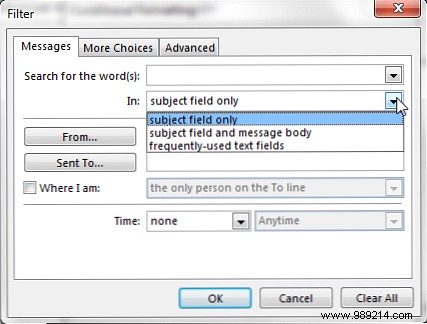
The Conditions dialog has three tabs: Messages, More Choices, and Advanced. Use them to tame inbox overload—tools like Mailstrom can help reduce clutter further.
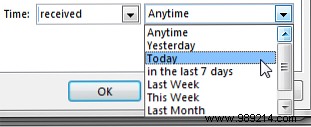
Search for specific keywords, phrases, or time-based filters (e.g., received yesterday, last 7 days). Go beyond Inbox Zero with these 5 Action Steps to Heal Your Email Frenzy.
Filter by color categories, unread status, attachments, importance, or flags.
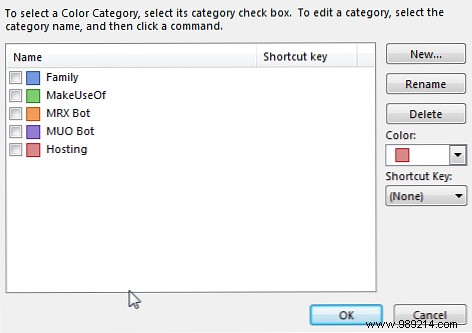
Automate existing color rules for seamless visuals.
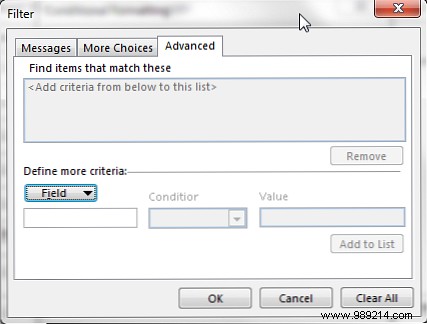
Build complex filters from hundreds of fields to create precise "filter trees."
Explore patiently—many options will suit your needs.
You’re now equipped to create rules for specific folders or topics. Formatting even travels with emails, keeping your inbox organized and your mind clear. Address root causes of email overload with 5 Action Steps to Cure Your Inbox Email Brain Frenzy.
Do you use conditional formatting in Outlook? Share your tips and tricks below!