As a seasoned Microsoft Office specialist with over a decade of experience optimizing workflows for professionals, I've relied on Outlook's Mail Merge feature countless times to streamline bulk communications. It's a powerful, built-in tool that creates individualized emails efficiently, ensuring each recipient feels personally addressed.
Whether you're sending wedding invitations, job applications, or urgent updates, Mail Merge eliminates manual personalization, saving hours compared to copy-pasting. Automate Office With Mail Merge to create professional address labels, ID cards, and more. Still using copy and paste? Discover this simple Microsoft Office automation tool that saves time. Read more.
With Outlook 2016 and later, you can set up personalized mass emails in minutes. Here's how, based on proven methods I've used in real-world scenarios.
Mail Merge excels for generating multiple similar documents or emails with unique details per recipient. Emails share the same body, format, and graphics, but insert personalized elements like names, addresses, or subjects.
Key advantage: Unlike group emails, each recipient appears as the sole addressee, enhancing professionalism and deliverability.
Pro tip from experience: Ideal for targeted job searches with employer-specific details.
The process combines:
Fusion occurs seamlessly within the Office suite. Use Outlook Contacts here; Excel works too. How to Print Mail Merge Labels in Microsoft Word and Excel. Read more for label printing tips.
Launch Outlook and follow these steps:
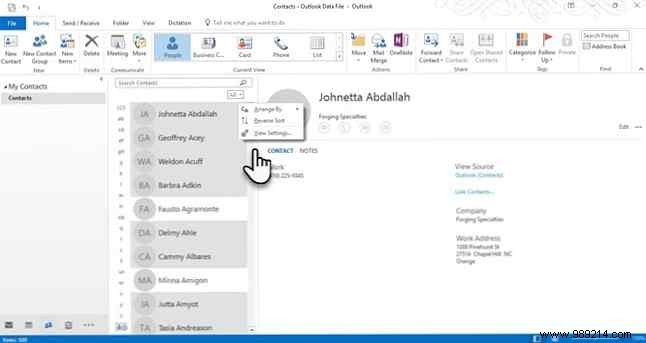
1. Open People to view contacts.
Select desired contacts (Ctrl+click). Sort via the All dropdown (e.g., by Categories) for large lists.
Note: Mail Merge requires individual contacts, not mailing lists.
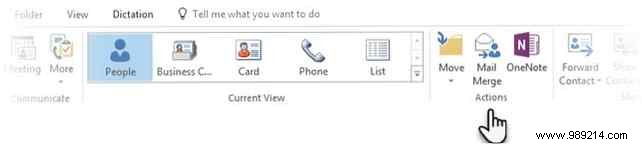
2. From Home > Actions group, select Mail Merge.
3. In the Mail Merge Contacts dialog:
Select Only selected contacts for targeted sends.
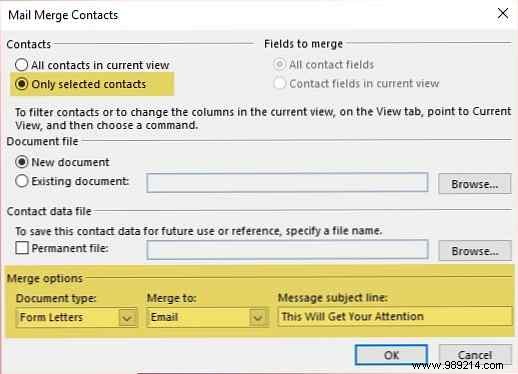
4. Click OK; Word launches automatically.
In Word, the Mailings tab appears. Start with a greeting:
Select Greeting Line from Mailings.
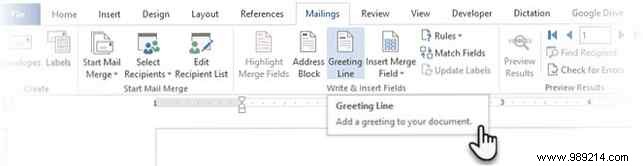
Customize format; preview shows actual contact names. Ensure fields match via Match Fields if needed.
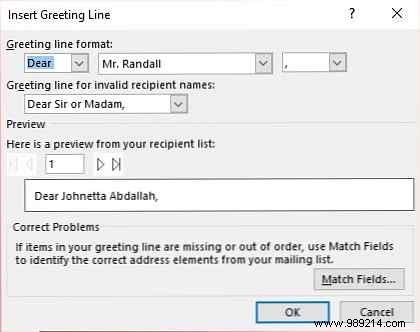
Click OK to insert the placeholder (e.g., ««GreetingLine»»).
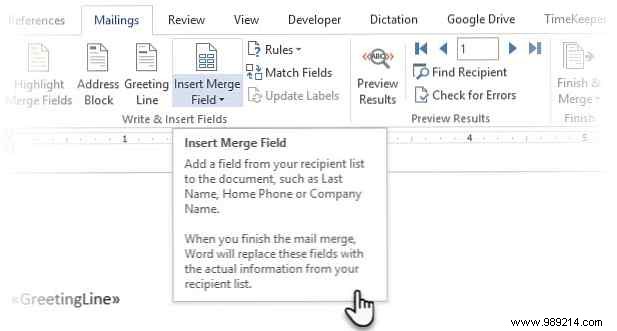
Pro tip: Insert more fields like Job Title or Phone via Insert Merge Field. Data must exist in Outlook Contacts.
Format the field (select including chevrons) using Home tab fonts and Line Spacing for consistency.
Build the message body after the greeting, incorporating merge fields. Apply email best practices for higher opens.
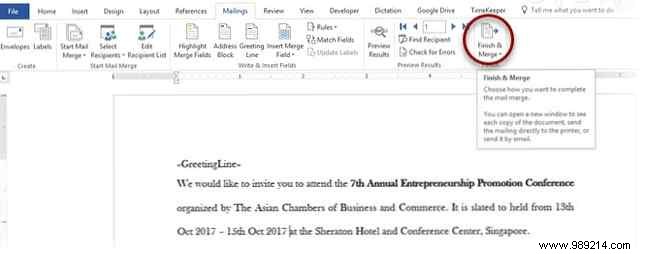
Click Finish & Merge > Send Email Messages.
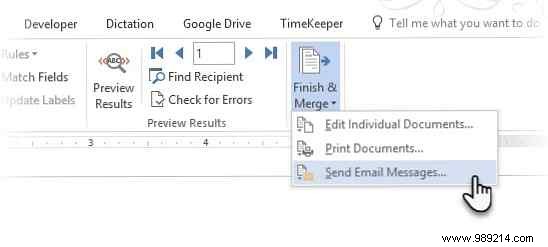
In the dialog, confirm To: Email Address, Subject:, and Mail format. Click OK.
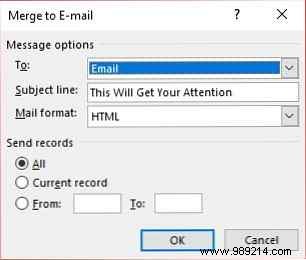
Word sends individual emails instantly. No CC/BCC or attachments supported.
Save the Word document to retain the data link; confirm Yes to reconnect on reopen.
Once mastered, this takes minutes regardless of list size—same effort as one email.
Enhances etiquette: Personalized greetings boost responses. 12 Reasons People STILL Ignore Your Emails. Read more.
Extend to letters/labels. Explore 10 Hidden Features of Microsoft Outlook.
Do you use Mail Merge? Or stick to CC/BCC? Share tips below. 10 Quick Tips to Get Better in Outlook. Read more.