Microsoft Word lets you jump straight into document creation with its robust built-in features and sensible defaults, ideal for professional reports, school papers, or any project.
Intuitive tabs, buttons, and toolbars make it user-friendly, while behind-the-scenes tools handle spelling, grammar, and proofreading. Most users dive in without tweaking, but as seasoned Word professionals know, a few quick customizations can dramatically enhance your workflow and minimize distractions.
Fine-tuning Word's proofing tools ensures accurate checks without false flags, tailored to your writing style—crucial for names, technical terms, or brand-specific phrasing.
For instance, company names in all caps or with numbers often trigger underlines. Adjust these to stay focused. (Pro tip: For deeper fixes, check our guide on How to stop Microsoft Word from underlining correct words as errors.)
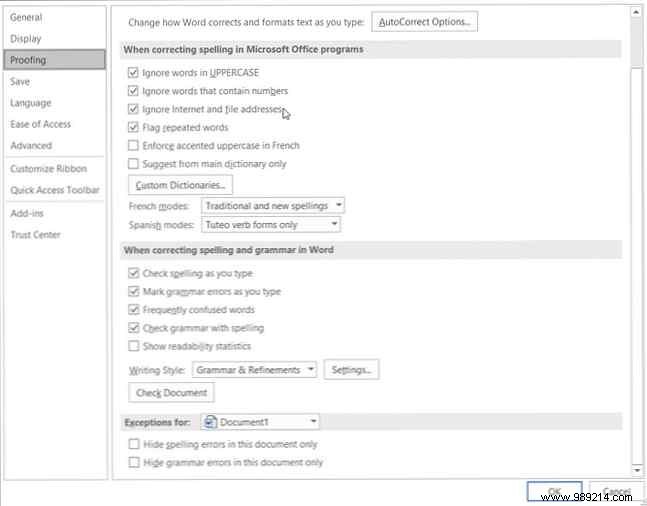
On Windows, open any document, go to File > Options > Proofing. Here, you'll find options for all Office apps or Word-specific tweaks.
On Mac, select Word from the menu bar > Preferences > Spelling and Grammar.
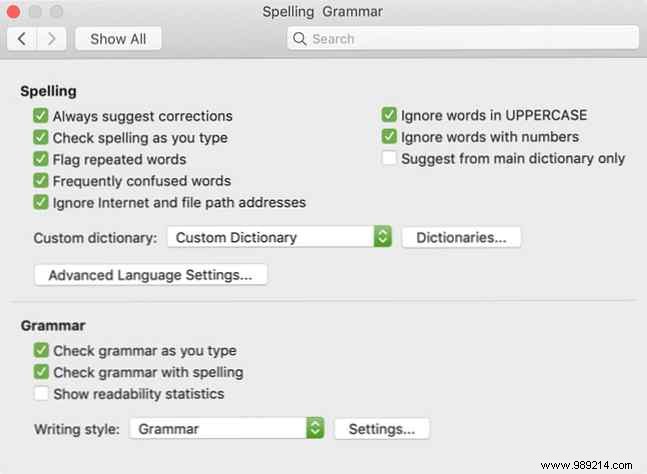
Enable options like ignoring capitalized words or numbers, checking as you type, flagging repeats, or skipping URLs/file paths. Review each for your needs.
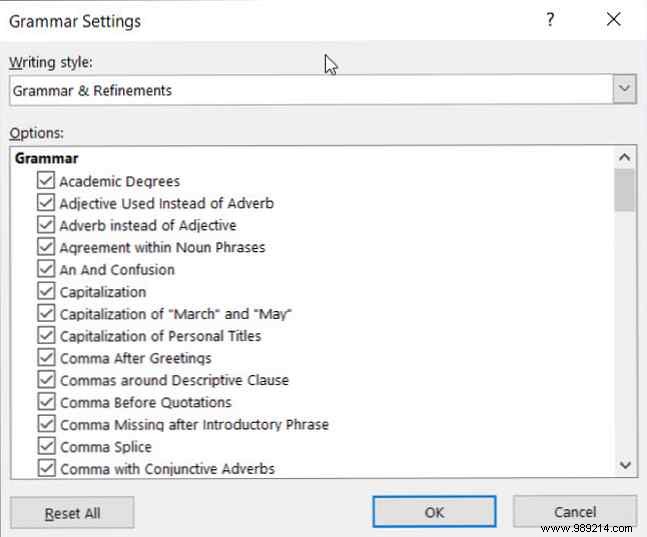
Click Settings for advanced grammar rules on capitalization, commas, slang, and redundancy—Windows under "When correcting spelling and grammar in Word," Mac under Grammar.
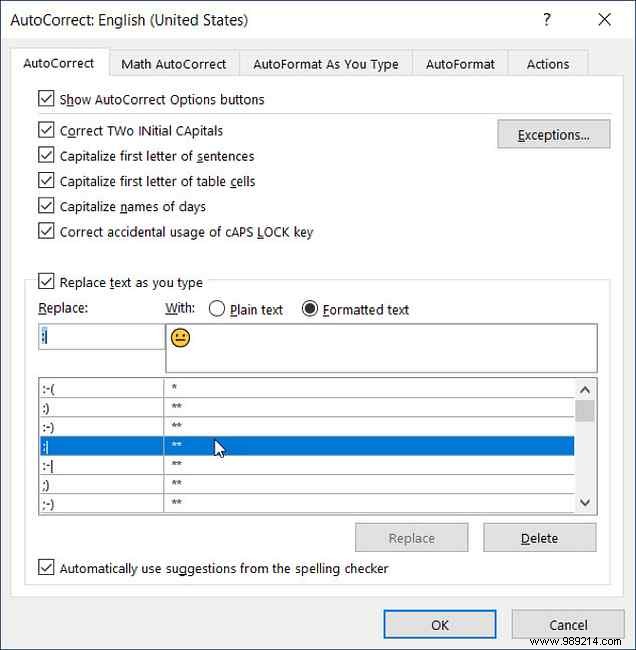
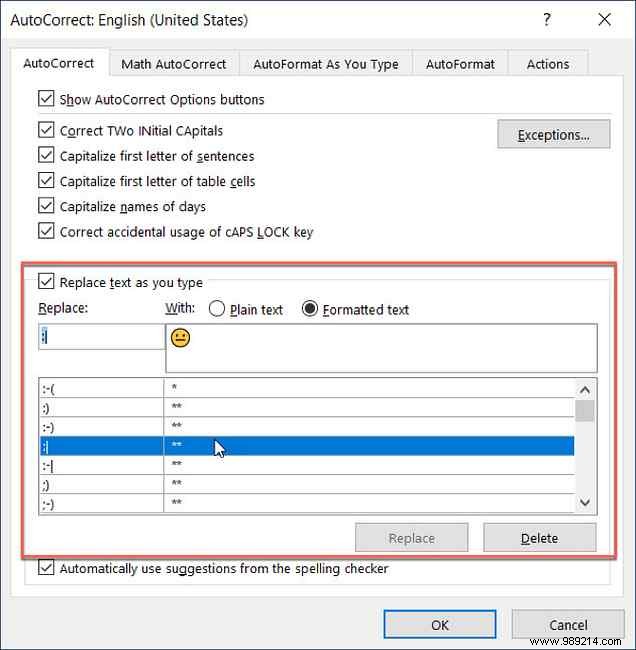
AutoCorrect prevents typos but can overreach, like downcasing dual-capital company names. Customize it to match your habits while keeping useful fixes.
On Windows: File > Options > Proofing > AutoCorrect Options.
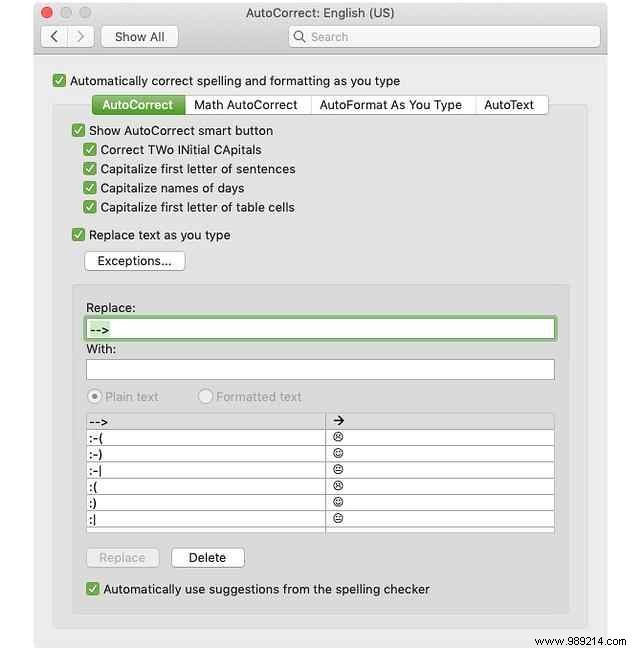
On Mac: Word > Preferences > AutoCorrect.
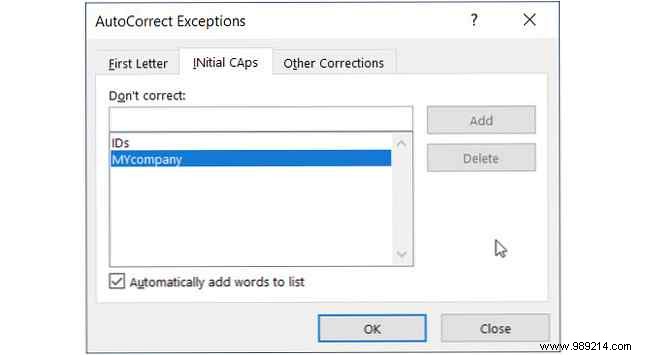
Toggle checkboxes for capitalizing days, sentences, etc. Use Exceptions for rules—like adding dual-cap names under Initial Caps. Check First Letter or Other Corrections tabs too.
Below, manage replacements for symbols, emojis, or misspellings—add, edit, or delete as needed.
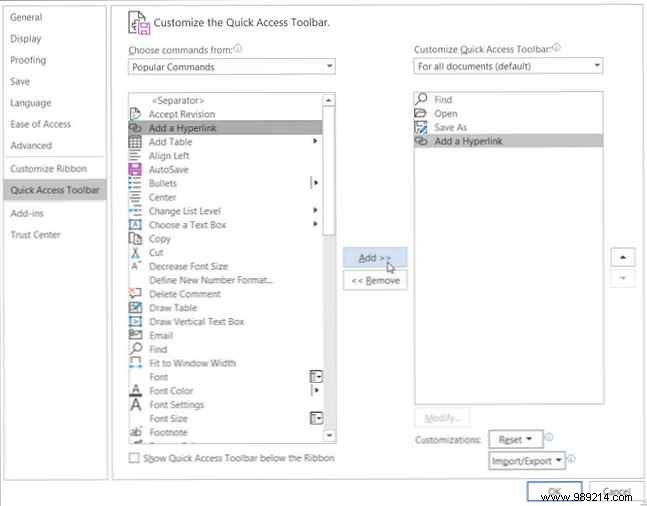
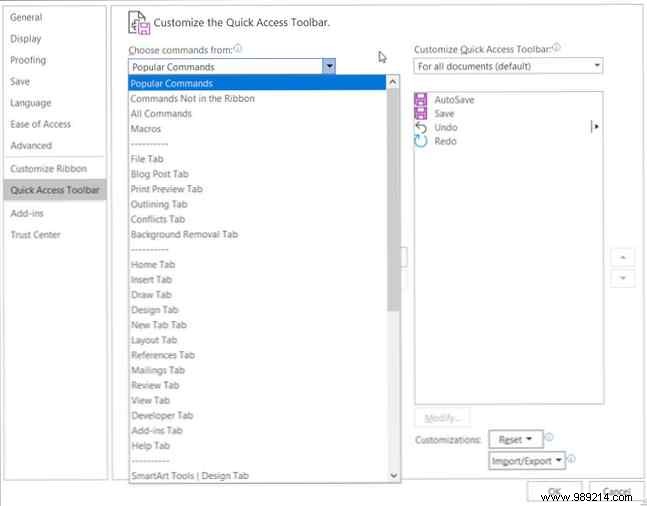
This top-left toolbar puts your go-to commands one click away. Customize it with frequently used tools like Save As or Find to streamline your day.
Defaults include Save, Undo, Redo—swap in what you need most.
Windows: File > Options > Quick Access Toolbar.
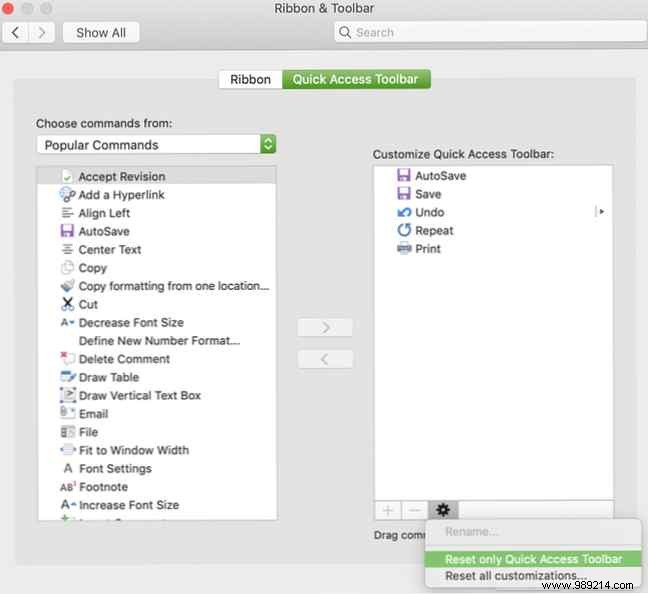
Mac: Word > Preferences > Ribbon & Toolbar > Quick Access Toolbar.
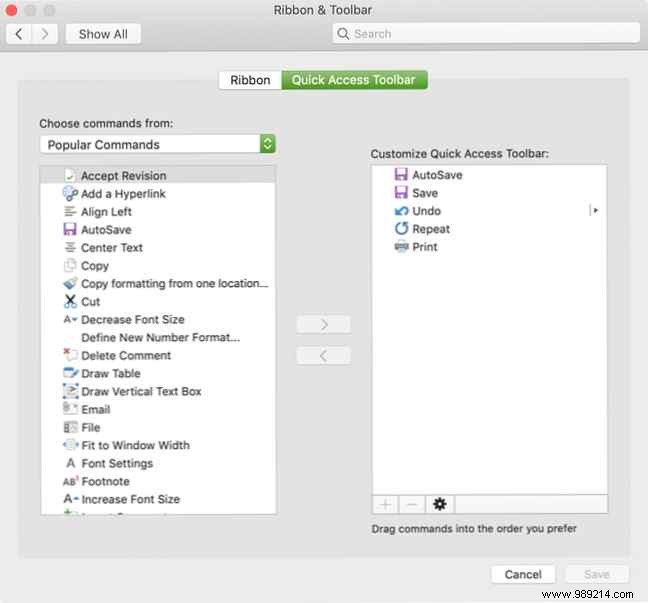
Add/remove commands using central arrows—from Popular Commands or full list. Hit OK.
Reset anytime: Windows under Customize > Reset; Mac via gear icon.
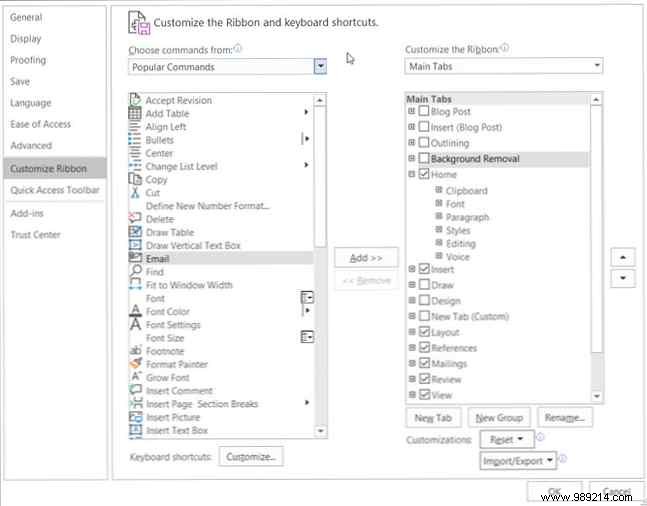
Streamline the Ribbon tabs and commands for your workflow—hide unused ones like Draw, reorder Home tools, and prioritize essentials.
Windows: File > Options > Customize Ribbon.
Mac: Word > Preferences > Ribbon & Toolbar > Ribbon.
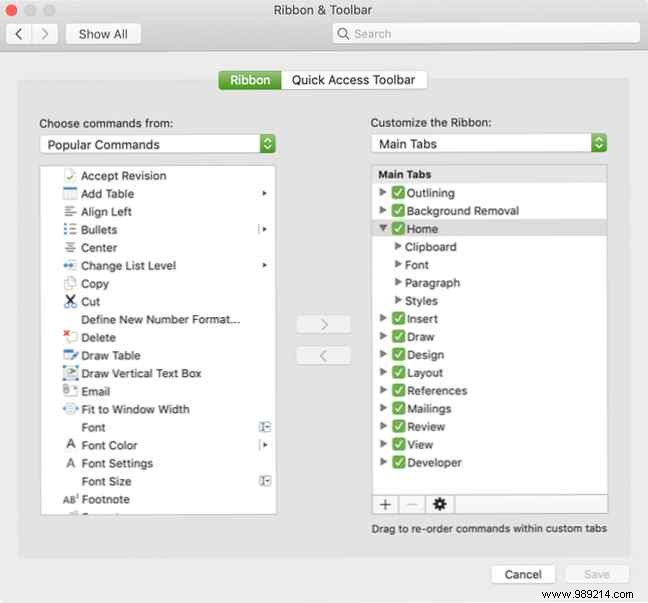
Use arrows to add/remove. Check/uncheck tabs; expand groups (+/arrow); reorder with side arrows (Windows) or drag (Mac).
For more, see How to Customize the Office 2016 Ribbon or Menu Interface.
The bottom status bar delivers at-a-glance info like word count or zoom. Tailor it to show what matters, hide the rest.
Right-click (Windows/Mac) or Ctrl+click (Mac) the bar, then check desired items—it updates live.
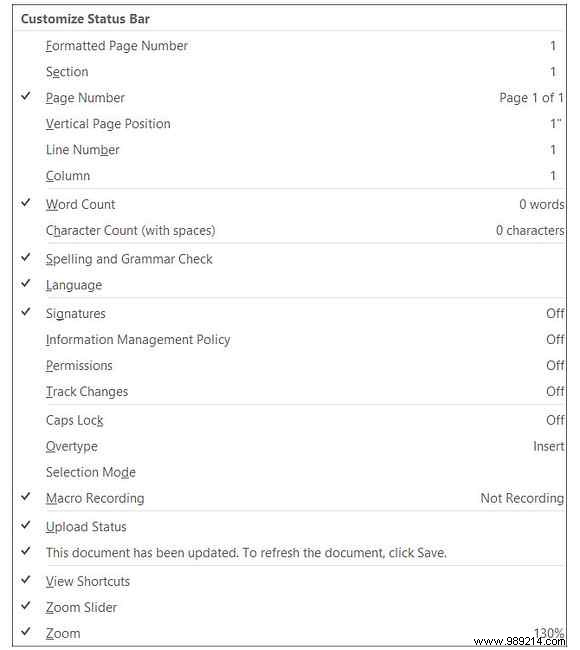
Great for frequent word counts or views; ditch macros if unused. Related: How to Customize Microsoft Word Layout Settings.
These tweaks, plus others like our 10 Microsoft Word Defaults You Can Optimize, make a real difference in daily efficiency.