Excel remains the gold standard for spreadsheet management, trusted by professionals worldwide for its power and versatility. Whether you're comparing it to Google Sheets or handling diverse file formats, mastering data import and export ensures seamless workflows.
Importing data into Excel might seem daunting at first, but with the right steps, it's straightforward and efficient. As someone who's managed large datasets in professional environments for years, I've streamlined this process countless times. Here's how to do it right.
Start by going to File > Import. This opens a dialog where you select the file format: CSV, text, HTML, or others.
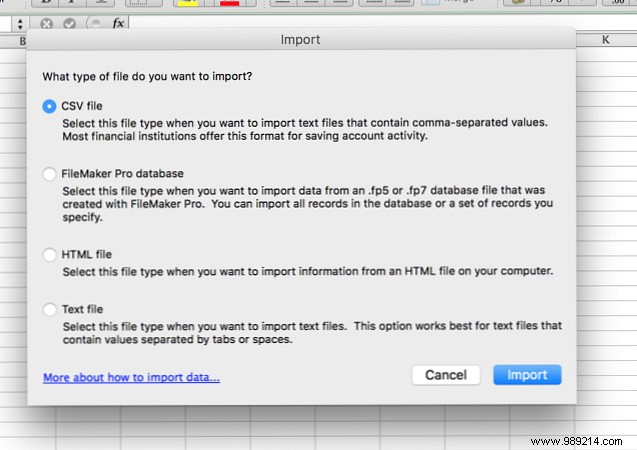
CSV is ideal for common data like research or contacts. Most apps export to CSV easily.
Click Import to open the Text Import Wizard.

The wizard auto-detects formats like delimited (e.g., commas). Often, just click Next > repeatedly for quick results. For fixed-width data, see below.
Choose delimiters like comma, tab, space, semicolon, or custom in Other.
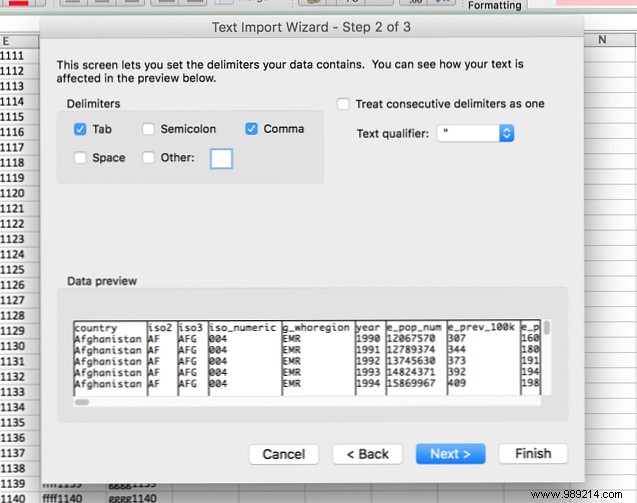
Treat consecutive delimiters as one merges multiples. Use Text qualifier (default: ") to handle text fields properly—quotes won't appear in the final sheet.
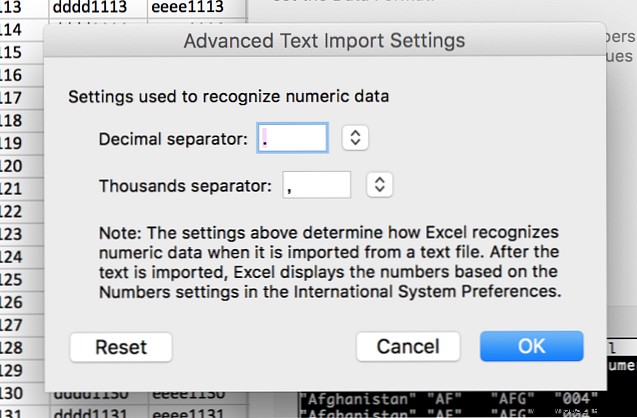
Hit Next for column formats: General (auto-detects), Text, or Date. Skip columns or tweak Advanced for decimals/thousands separators.
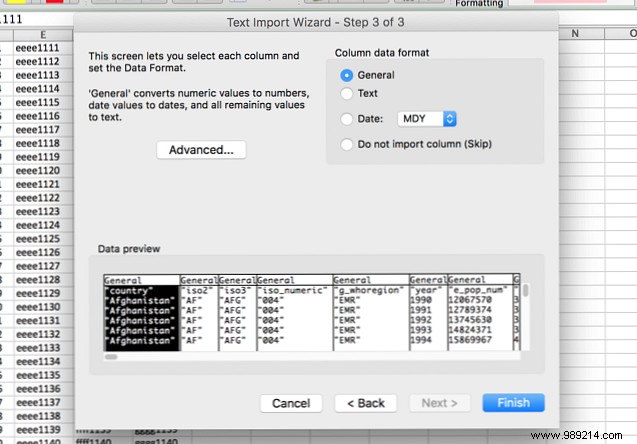
Click Finish—your data is imported accurately.
For non-delimited files, select Fixed Width. Click to set breaks, drag to adjust, double-click to remove.
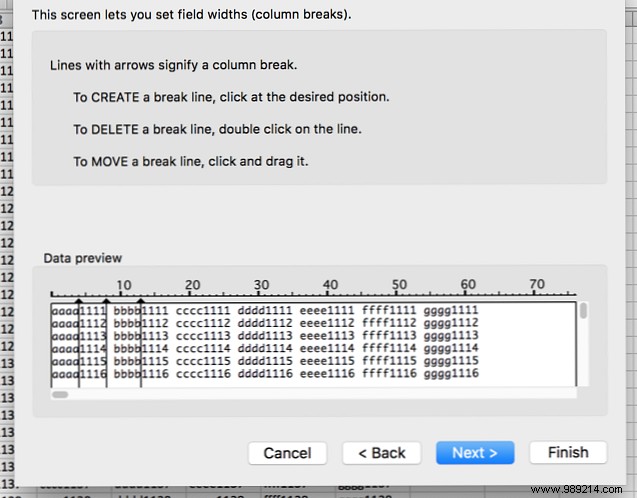
Proceed to format columns as above, then Finish.
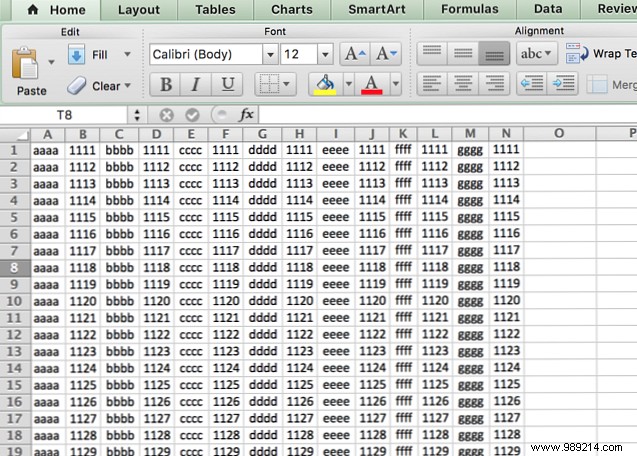
This splits mixed text/numbers perfectly—great after saving as CSV/text first. HTML imports work similarly, converting tables to editable sheets.
Exporting is simpler: File > Save As... (shortcut: F12). Pick your format.
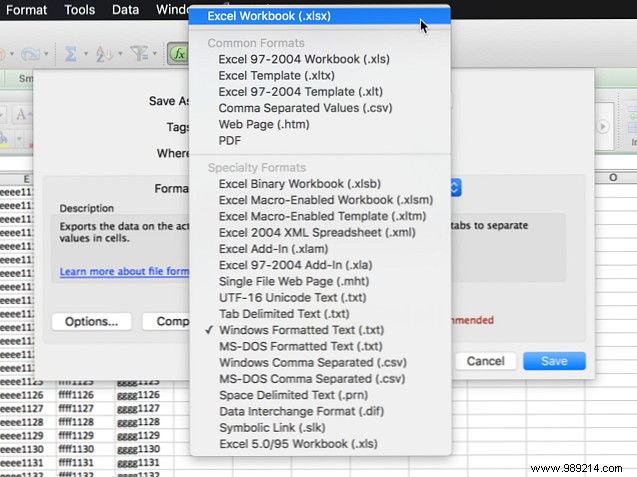
Common options:
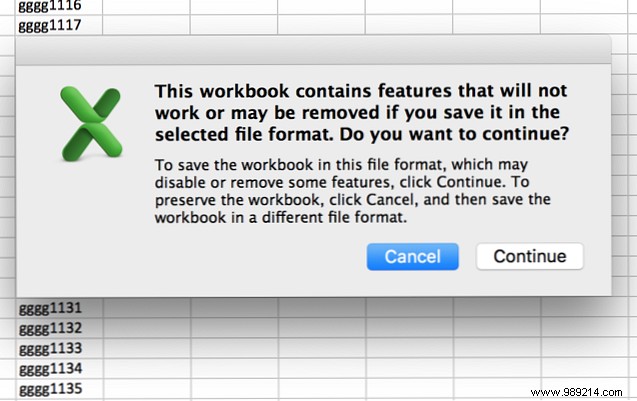
You may see a warning for non-native formats—click Continue unless using advanced features.
Most work stays in Excel, but importing/exporting handles web data or other suites effortlessly. Do you regularly import/export Excel files? What tips or challenges do you have? Share below!