The Challenge: Positioning two Microsoft Word tables side by side, each with its own unique format.
The Solution: A clever approach that encourages thinking 'inside the box.'
As experienced Word users know, tables are invaluable for precise document layouts. They offer flexibility but often require advanced formatting techniques. For more essential advice, explore our 8 Formatting Tips for Perfect Tables in Microsoft Word—simple steps to unlock their full potential.
Yet, aligning multiple independent tables precisely can be tricky. The solution? Leverage the versatile text box as a container.
In Microsoft Word 2016 and later, you can drag tables freely, but exact side-by-side placement demands more control. Text boxes excel here: they're easy to position, support custom formatting, and seamlessly hold tables.

Step-by-Step Guide:
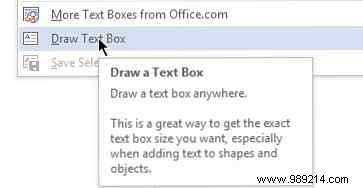
1. Open your document and go to Insert > Text Box (in the Text group) > Draw Text Box. Draw the box where needed.
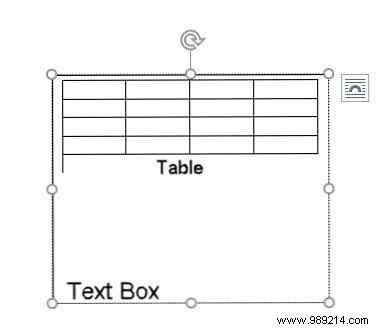
2. Click inside the text box, then select Insert > Table to add your table (specify rows and columns).
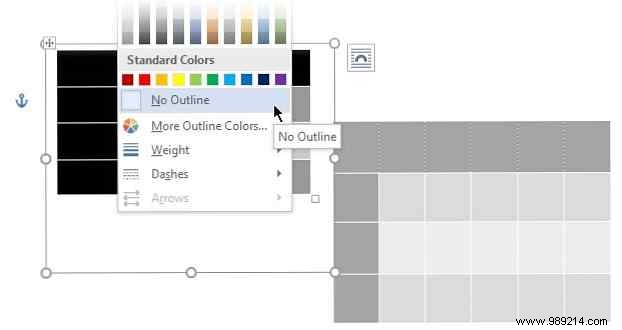
3. Hide the text box border: Select the box, go to Drawing Tools > Format > Shape Outline > No Outline.
4. Add a second text box beside the first for another table.
This method allows complete independence: format each table via Table Tools > Layout. Achieve professional results effortlessly.
What's your go-to Word table trick? Share your insights below—they might solve challenges for others!