As a long-time Microsoft Excel power user, I've created countless diagrams and flowcharts right within spreadsheets—no extra software required. While dedicated tools exist, Excel's grid system and shapes make it surprisingly capable, especially for Office 365 subscribers. Though Word works too, Excel excels (pun intended) at precise layouts.
In this practical guide, I'll share proven steps to set up your worksheet, build impressive flowcharts, format them like a pro, and access free templates—all based on real-world experience streamlining processes with Excel.
Excel's worksheet grid is perfect for aligning and sizing flowchart elements precisely, mimicking graph paper for clean results.
To start, make all columns match the default row height. Select the entire worksheet by clicking the top-left corner box. Right-click a column header, choose Column Width.
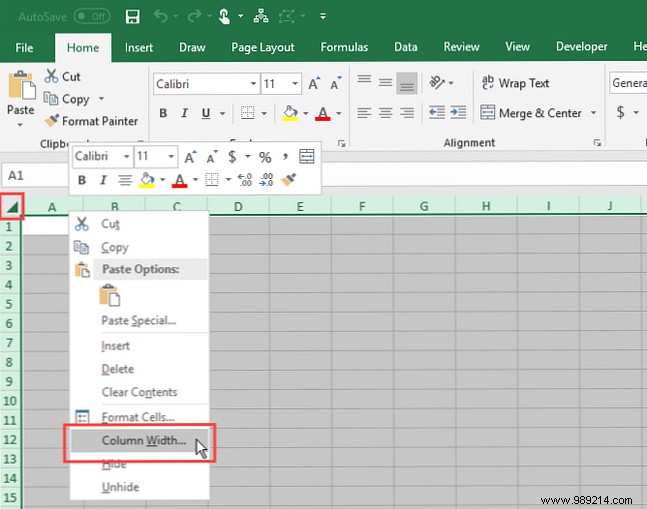
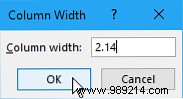
With default Calibri 11 font, row height is 15 points (20 pixels). Set column width to 2.14 for a perfect match, then click OK.
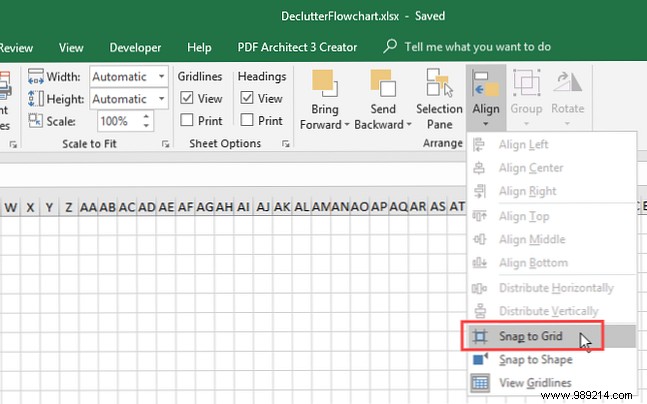
Snap to Grid ensures shapes align effortlessly as you move or resize them.
Go to the Page Layout tab, click Snap to Grid in the Alignment group. The icon highlights when active.
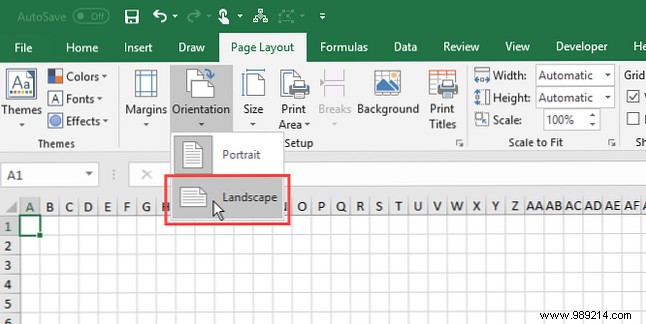
Define your flowchart's boundaries upfront—match margins and orientation to your target document, like a Word file, to avoid oversized prints.
On the Page Layout tab, use the Page Setup group for margins, orientation, and size adjustments.
With setup complete, let's add elements.
Switch to the Insert tab, click Shapes in Illustrations, and pick from the Flowchart section.
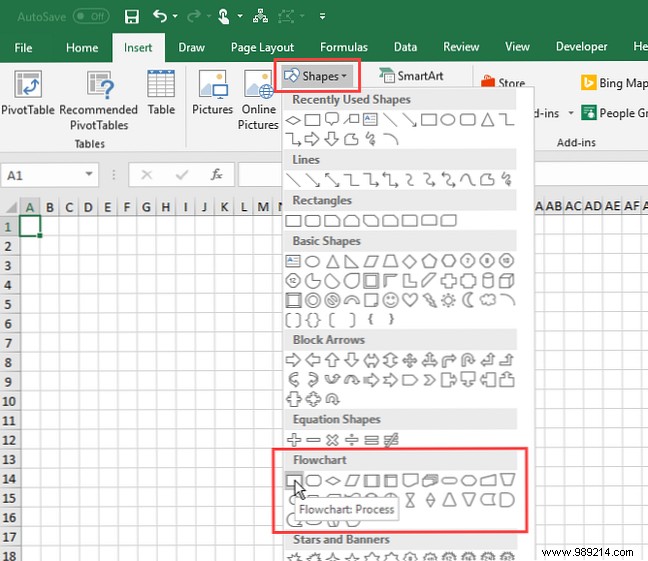
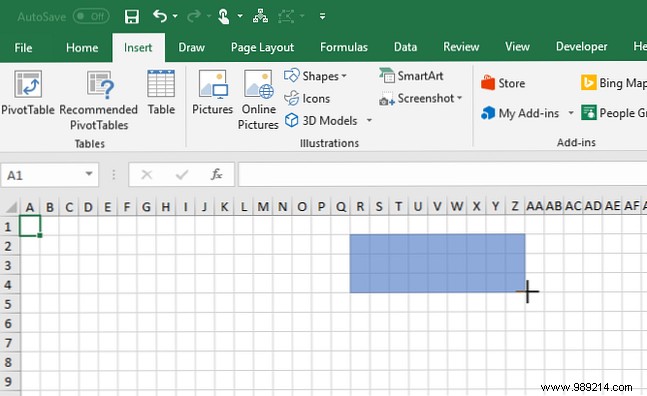
Drag to draw; Snap to Grid auto-aligns it.
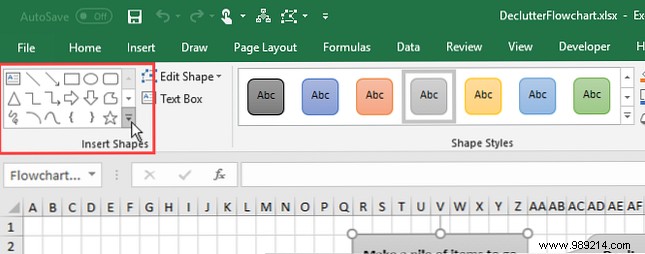
Select a shape to reveal the Drawing Tools > Format tab. Reuse the Shapes gallery here for quick additions.
Double-click for instant placement, drag handles to resize, or hover until the cursor shows arrows to move.
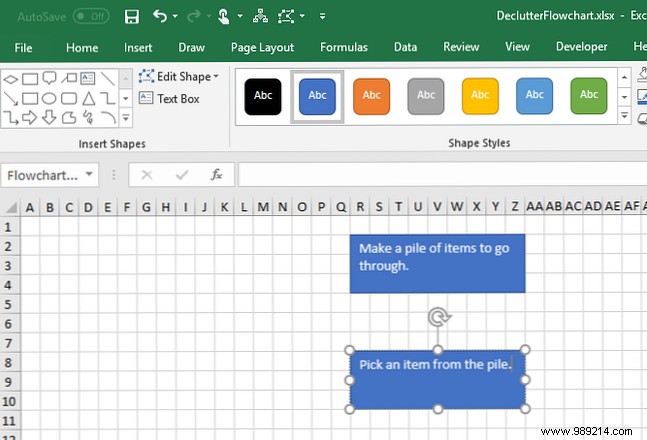
Click a shape and type. Edit by clicking text again; exit by clicking outside or selecting to move.
Choose Line Arrow from Shapes (Insert or Format tab).
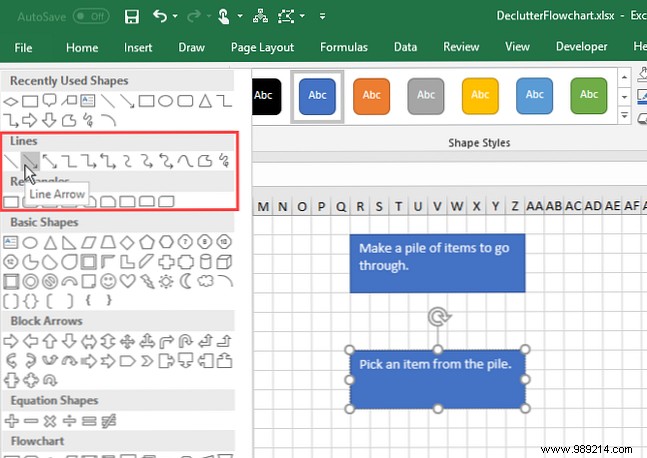
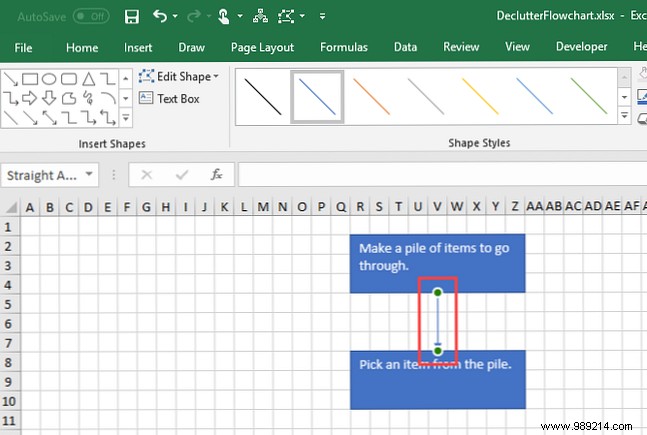
Cursor becomes a plus; hover over a shape to reveal connection points (dots). Click a start point, drag to an end point on another shape—solid points confirm connection.
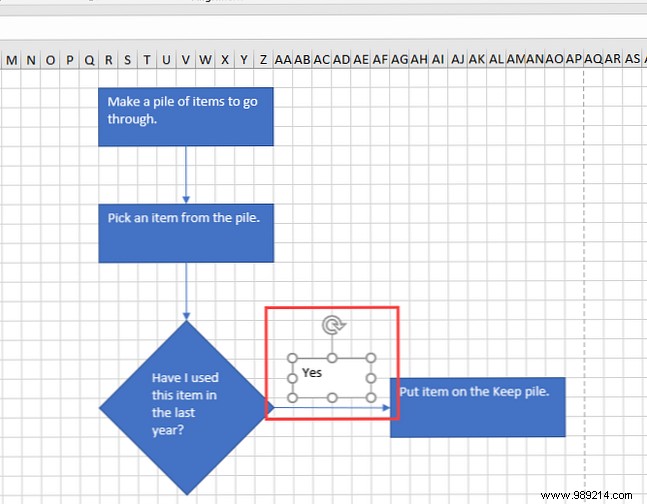
Unlike Visio or Lucidchart, Excel lacks native line labels, but text boxes work beautifully.
On the Format tab, insert a Text Box near the line.

Position freely (toggle Snap to Grid off if needed), then type your label.
For annotations, insert a callout shape from the gallery.
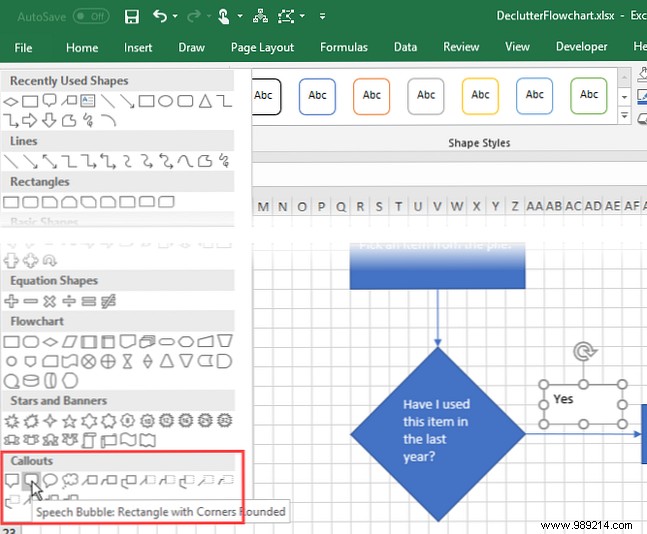
Add text, resize, and drag the pointer to connect (turns red on shapes).

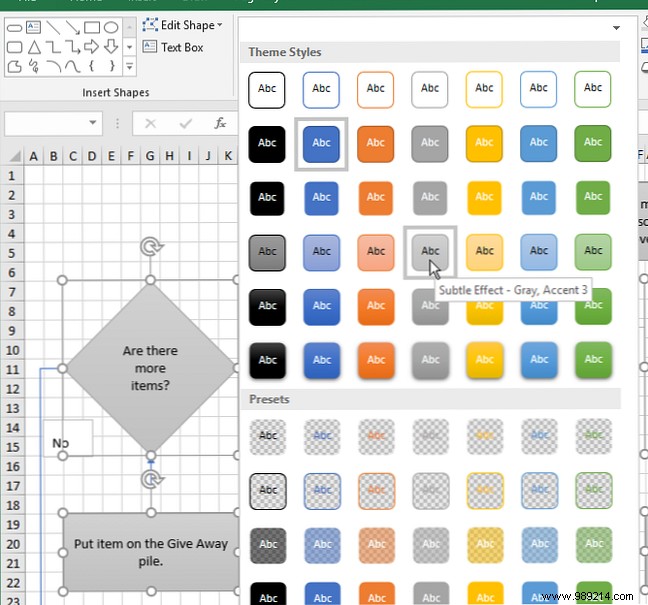
Excel offers robust styling; here's how to polish.
Select multiple shapes (Shift-click), go to Format tab, and hover More in Shape Styles > Theme Styles for live previews.
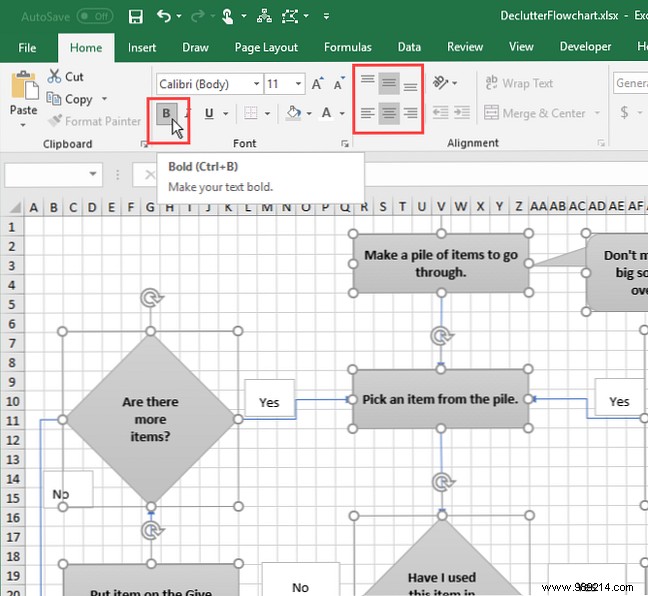
Select shapes/boxes (Shift-click), use Home tab's Font and Alignment groups—e.g., Bold, Center, Middle Align.
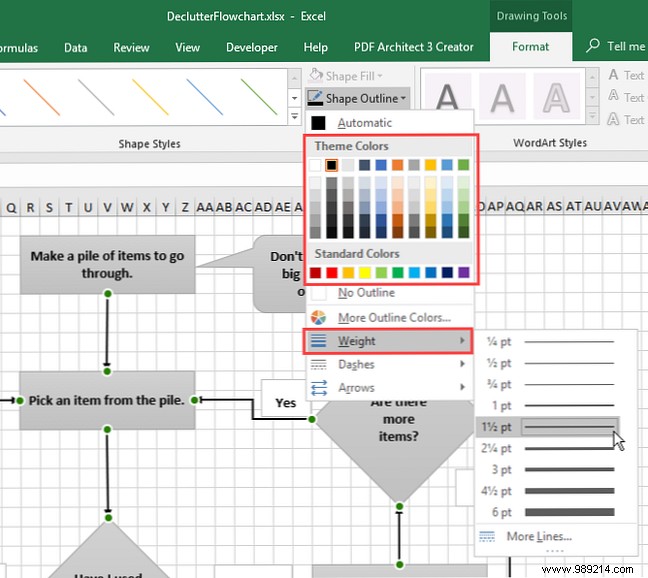
Select lines (Shift-click), on Format tab, choose Shape Outline color, then Weight for thickness.
Templates save time; here are reliable downloads:
Excel flowcharts boost productivity beyond spreadsheets. For alternatives, check our picks like the 7 Best Free Flowchart Tools for Windows.