As a Microsoft Word specialist with over a decade of experience helping professionals polish their documents, I know first impressions matter. Beyond titles, headings, and body text, a standout cover page sets your Word document apart.
We've covered crafting professional reports and documents in Microsoft Word—essential elements like structure and style. But today, focus on that crucial first page: the cover page.
The cover page introduces your document's 'big idea'—conveying the purpose through a compelling title, your name, date, a concise summary, and key details.
Academic papers often feature simple, monochromatic designs per style guides like the Chicago Manual of Style, centering the title on one-third of the page.

For school assignments, confirm with your instructor before adding one. But for other documents, without strict guidelines and lacking advanced design skills? No problem—Word has you covered.
Microsoft Word simplifies creating polished cover pages with built-in options.
The suite offers diverse, ready-to-use designs.
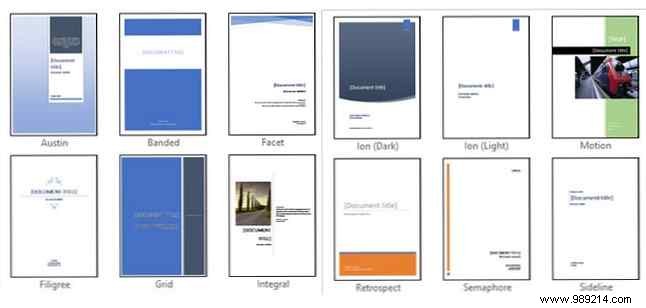
Open a new document, go to the Insert tab on the ribbon. Under Pages, click the arrow next to Cover Page to access the gallery. Choose from 16 pre-formatted templates, plus three more from Office.com.
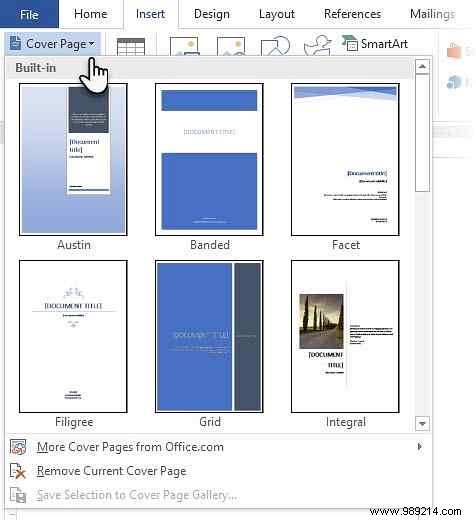
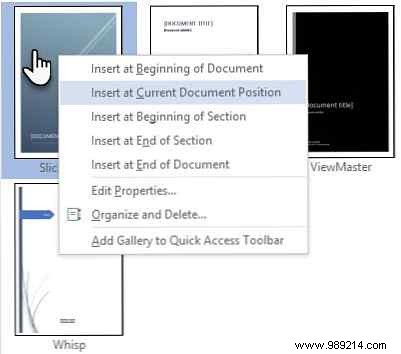
Select your favorite—it inserts at the document's start by default. To place elsewhere, right-click the thumbnail in the gallery and choose an option.
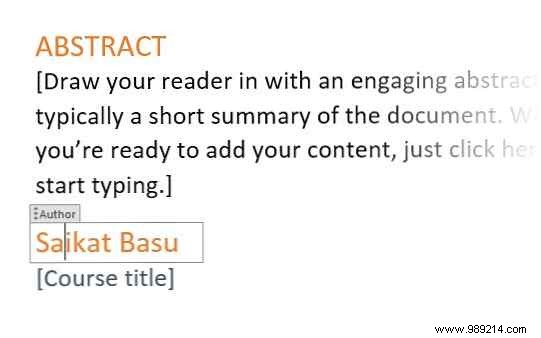
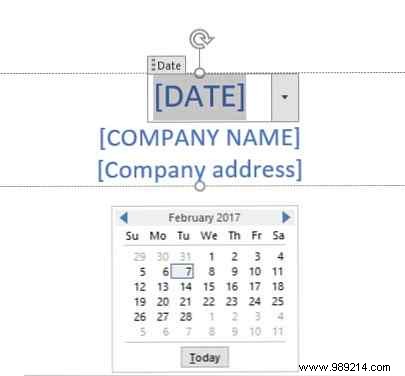
Click bracketed fields (e.g., [Title])—they highlight with a label. Replace with your content. Your name may auto-fill. Use Quick Parts for reusable info like your name or company details.
For dates, use the dropdown calendar. Format as plain text if needed.
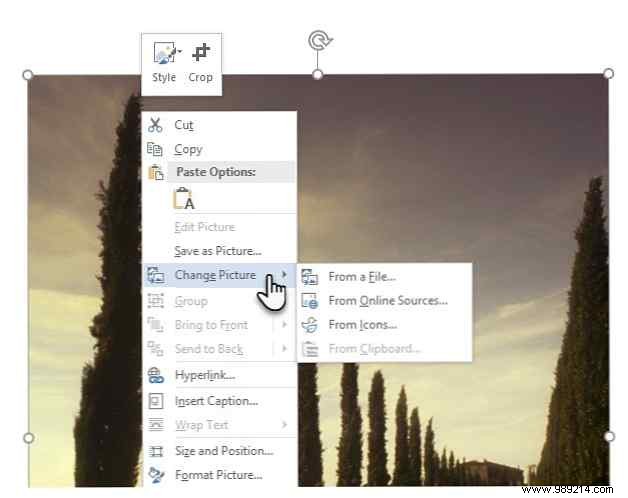
Edit graphics like images: select to reveal Drawing Tools and Picture Tools on the ribbon.
Templates use editable controls and themed graphics. Swap images: right-click and select Change Picture.
Switch templates mid-edit via the dropdown—your text carries over. For older Word versions, delete the existing cover first.
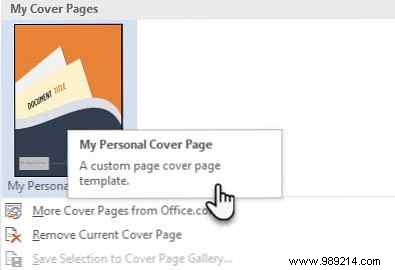
Save your document. To reuse: select the entire cover, go to Insert > Cover Page > Save Selection to Cover Page Gallery.

Built-in templates save time, but custom designs showcase your style. Leverage Word's shapes and tools—simpler than logos.
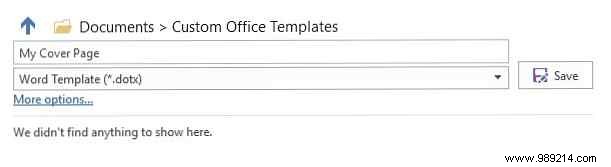
Here's a cover I designed using basic shapes and colors.

Create in a new document, then File > Save As > Word Template (*.dotx).
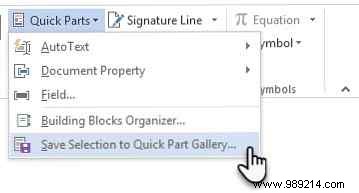
To add to Insert menu: Press Ctrl + A, go to Insert > Quick Parts > Save Selection to Quick Part Gallery.
In the dialog:
Click OK. Access via Insert menu.
Cover pages transform bland documents—one of Word's underused features. Benefits include:
Do you use cover pages? Share how they enhance your workflow in the comments.