Macros in Microsoft Excel let you automate repetitive tasks, saving time and boosting efficiency. As Excel experts with years of experience optimizing workflows, we'll walk you through recording a macro in Excel 2016—a foundational skill for any spreadsheet pro.
Before diving in, explore our top Excel macro resources: 5 Excel Macro Resources to Automate Your Spreadsheets. These sites offer ready-made macros, plus ideas for custom ones—like sending emails from Excel via VBA: How to Send Emails from an Excel Spreadsheet Using VBA Scripts. Or automate reports the other way around. Read more.
Follow these straightforward steps to record your first macro. We'll outline them first, then detail each one.
The Developer tab houses macro tools but isn't visible by default. To enable it: Go to File > Options > Customize Ribbon. In the Customize the Ribbon pane (with Main Tabs selected), check Developer and click OK.
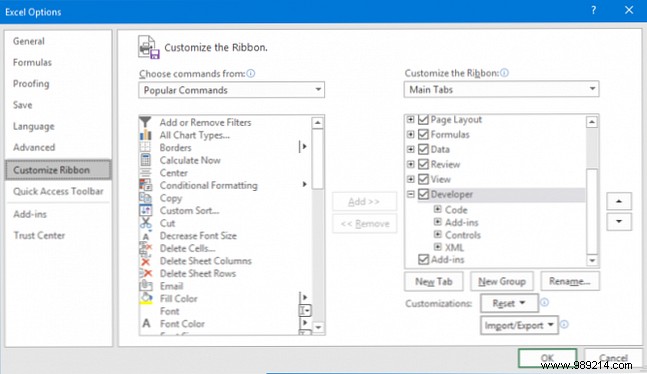
The tab now appears on the ribbon permanently—unless you disable it later.
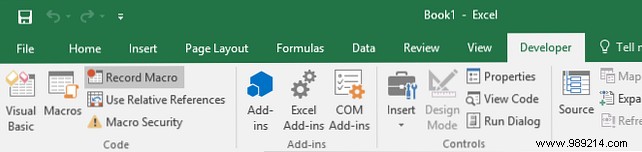
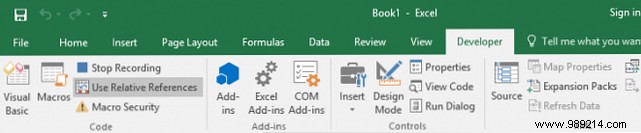
Switch to the Developer tab. In the Code group, click Record Macro to open the dialog.
Shortcut: Alt + T + M + R.
In the Macro Name field, type a descriptive name. Be specific for easy identification later.
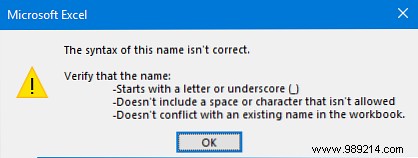
Start with a letter; follow with letters, numbers, or underscores. No spaces, and avoid cell reference names.
For quick access, add a shortcut. In Shortcut key, press Ctrl plus your desired letter (e.g., Ctrl + A).
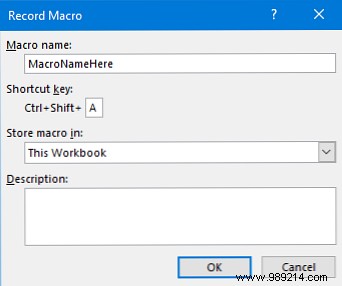
Pro tip: Use Ctrl + Shift + [letter] to avoid overriding built-in shortcuts like Ctrl + A (Select All).
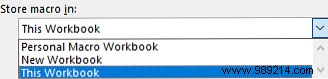
Choose from the Store macro in dropdown:
Add a detailed Description of what the macro does—optional but essential for future reference.
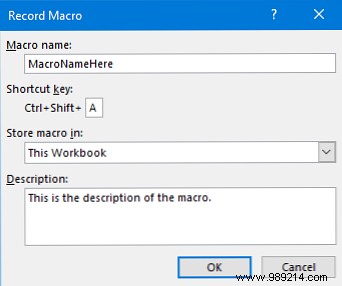
Review and click OK to begin recording.
Execute your tasks: typing, cell selection, formatting, or data imports. Plan ahead to avoid errors.
On the Developer tab, toggle Use Relative References as needed. Enabled: Actions relative to active cell (e.g., select A1 to A3 from J6 goes to J6:J8). Disabled: Absolute (goes to A1:A3).
If you err, stop and restart—or edit VBA code later. See: 4 Mistakes to Avoid When Programming Excel Macros with VBA.
Finish up, then on Developer > Code, click Stop Recording.

Shortcut: Alt + T + M + R.
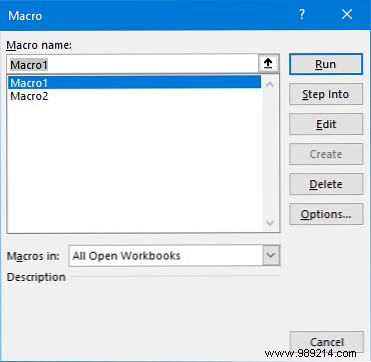
Access via Developer > Macros (or Alt + F8). Run, edit, or delete as needed.
Level up with: Excel VBA Tutorial for Beginners; Create a Custom Excel Toolbar from VBA Macros. Boost further with dropdowns (How to Create a Dropdown List in Excel), IF statements (How to Use IF Statements in Excel), or Goal Seek/Solver (How to Use Excel's Goal Seek and Solver).