As a Microsoft Excel expert with years of experience securing sensitive spreadsheets for businesses, I recommend password-protecting your files to safeguard critical data. Just like you secure your email, social media, and devices with strong passwords, your Excel workbooks deserve the same protection.
Whether you need to lock the entire file, allow read-only access, or protect specific sheets and VBA code, Excel makes it simple—often in just three steps. This prevents unauthorized edits or data theft, which could be disastrous if spreadsheets fall into the wrong hands.
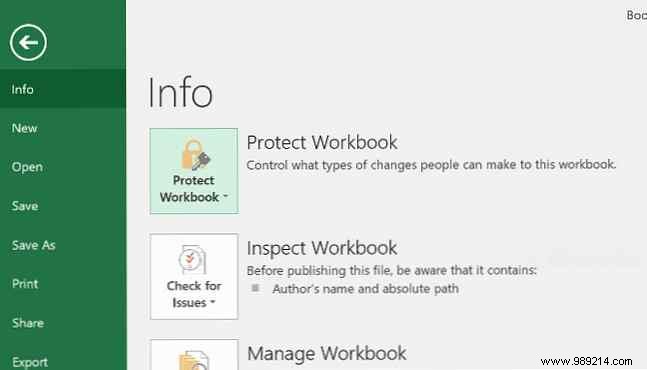
Excel's built-in encryption requires a password every time the file opens. Here's how:
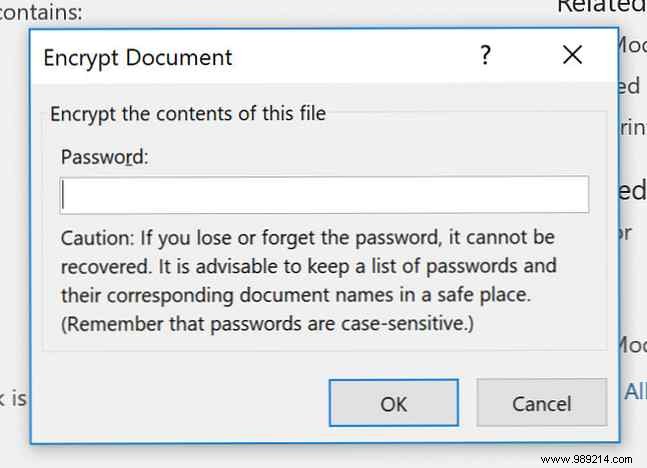
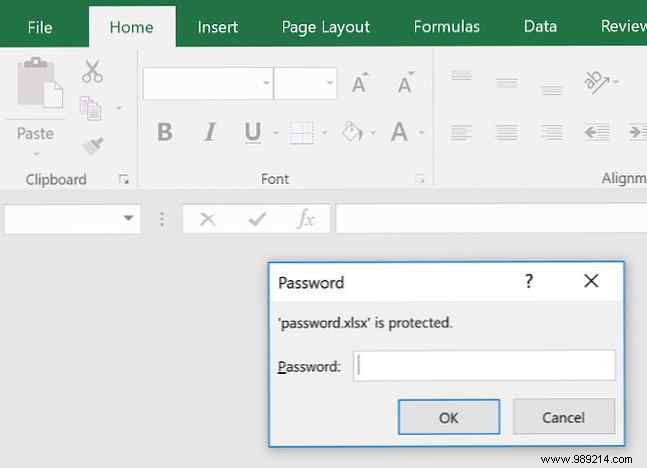
Select Encrypt with Password, input your password, and re-enter it to confirm. Next time you open the file, you'll be prompted for it.
Pro tip: Never forget your password—leaked credentials are rampant online. Losing access to key data creates major headaches.
For flexibility, let users view but not edit without a password:
Go to File > Save As > Tools > General Options.
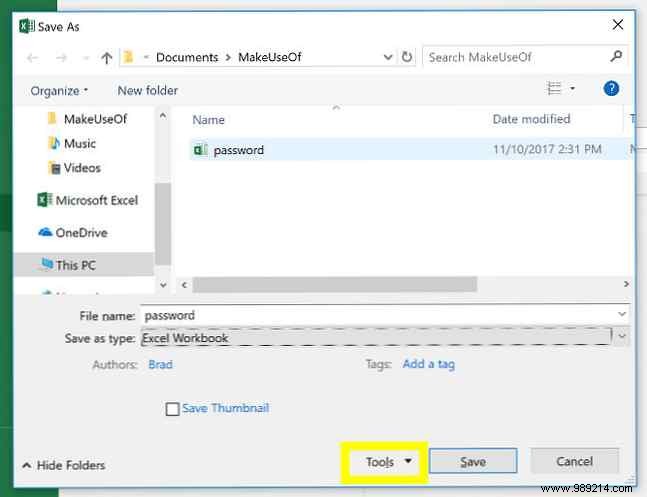
In the dialog, leave Password to open blank and set a Password to modify. Click OK.
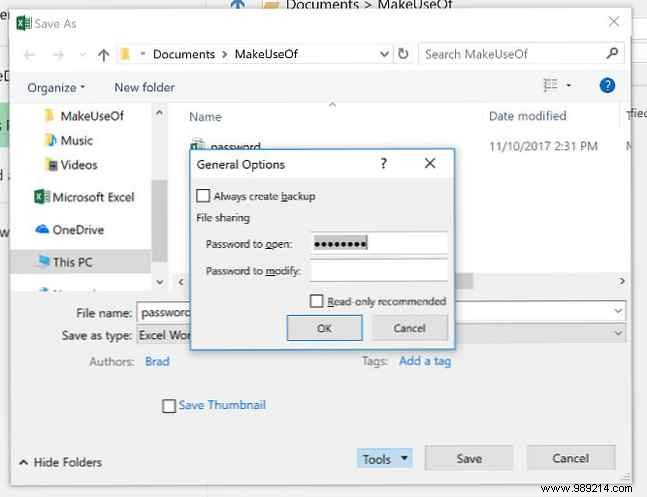

Users can open the file read-only; edits require the password.
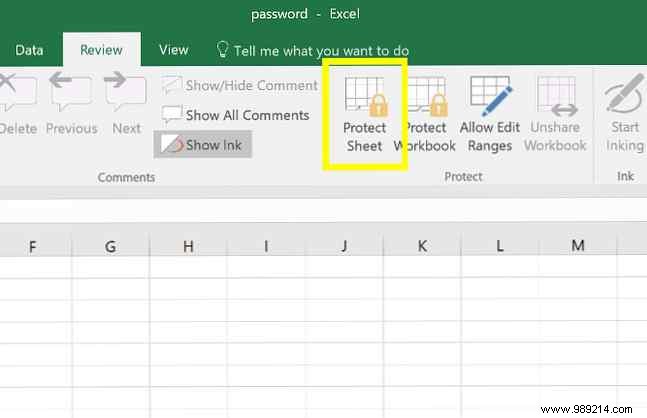
For multi-sheet files, lock specific sheets:
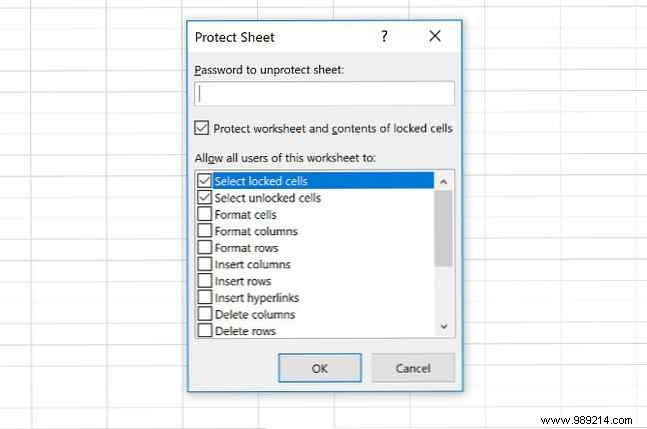
Switch to the Review tab and click Protect Sheet.
Enter a password and select allowed actions (e.g., sorting without changes).
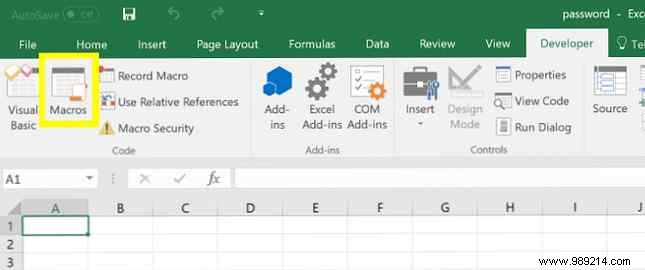
To protect macros while allowing workbook edits:
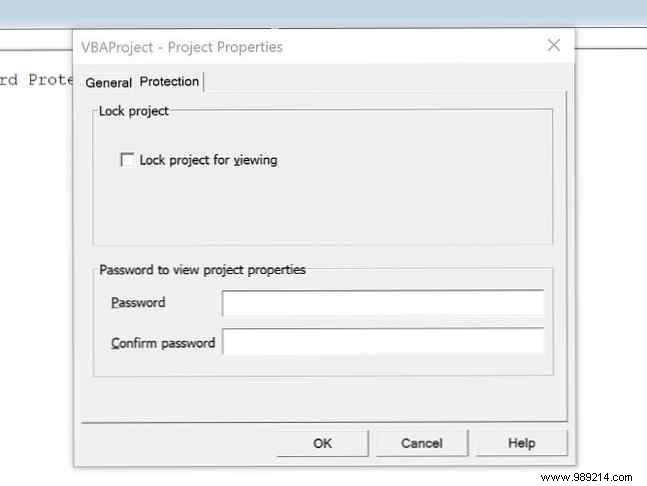
Open the Visual Basic Editor (Alt+F11), then go to Tools > VBAProject Properties.
On the Protection tab, check Lock project for viewing and add a password.
Example macro:
Range("A1").Value = "Password protected"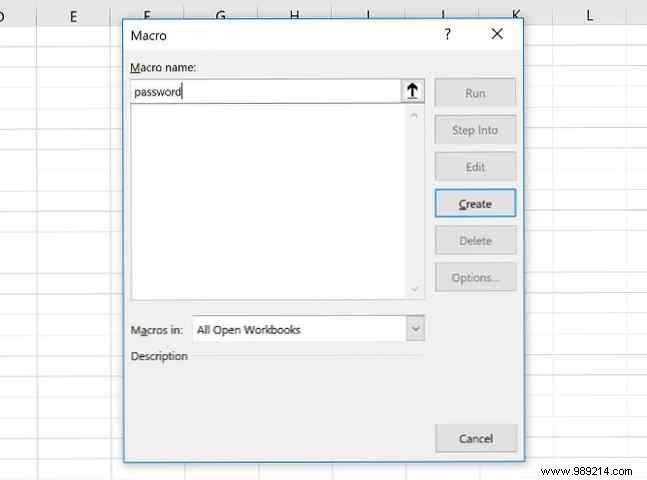
Note: VBA protection has limits; always back up code.
Review document settings before sharing, especially shared workbooks like timesheets or dashboards. A few seconds to password-protect saves hours of recovery.
What's your go-to method for Excel security? Share in the comments—happy to help troubleshoot!